

Dry brushing is a simple, grounding ritual where you gently stroke a natural-bristle brush over your dry skin, usually right before stepping into the shower. The whole point is to exfoliate away dull, dead skin cells and invigorate the skin, leaving it feeling remarkably smooth and refreshed.
The Art of Dry Brushing for Radiant Skin
Dry brushing is more than just another step in a skincare routine; it’s a practice that can reconnect you with your body. At its core, it's a powerful method of physical exfoliation that helps slough away the outer layer of tired cells, revealing brighter, softer skin underneath. The firm bristles also create a wonderful invigorating sensation, which can help boost circulation and give your body a temporary, energized feeling.
Ancient Roots of a Modern Ritual
While it might feel like the latest wellness trend, the idea of buffing the skin for health and beauty is ancient. This technique traces back to various cultures across history—for instance, Egyptians were using abrasives like sand for exfoliation as far back as 1500 BCE. The practice really gained traction in 19th-century Europe through hydrotherapy pioneers who prescribed brush massages to stimulate the body.
This time-honored tradition is now a cornerstone of modern botanical wellness for a few key reasons:
- Mechanical Exfoliation: It physically sweeps away the top layer of dead skin. Simple as that.
- Invigorating Sensation: The brushing motion awakens the senses and stimulates the skin's surface.
- Simple and Natural: It requires just one tool and a few minutes of your time.
Dry brushing is a beautiful way to tune into your body. It encourages you to pay attention to your skin and dedicate a few mindful moments to self-care before the day begins or as it winds down.
For anyone new to this, the key is to start gently and really listen to your skin. Understanding the basics of dry brushing is just the first step. For a deeper dive into complementary practices, feel free to explore other wellness topics.
Dry Brushing Quick Start Guide Dos and Don'ts
To make your first few sessions easy and effective, here's a quick guide on what to do and what to avoid. Following these simple tips will help you get all the benefits without causing irritation.
| Guideline | The Right Way (Do) | What to Avoid (Don't) |
|---|---|---|
| Direction | Brush in long, sweeping strokes toward your heart. | Don't scrub back and forth or in harsh circles. |
| Pressure | Use firm but gentle pressure—enough to feel it, but not enough to scratch. | Avoid pressing so hard that your skin turns bright red or feels irritated. |
| Timing | Brush on completely dry skin for 3-5 minutes before you shower. | Don't brush on wet skin, as this can be too abrasive. |
| Skin Condition | Only brush on healthy, unbroken skin. | Never brush over cuts, scrapes, rashes, sunburn, or inflamed skin. |
Getting the technique right is half the battle. The other half is what you do afterward.
One of the most important steps is applying a nourishing body oil right after you shower. This is the perfect complement to the ritual, as it replenishes moisture and leaves your freshly exfoliated skin feeling incredibly soft. To learn more about this crucial aftercare step, you can check out our guide on how to use facial oil for similar hydration principles.
How to Choose the Right Dry Brush for You
Finding the right dry brush is the first, and most important, step in creating a ritual you'll actually enjoy. With so many options out there, it really just comes down to two things: the bristles and the handle. Get those right, and you're set.
The bristles are where the magic happens. You’ll want to look for natural fibers, as synthetic ones can be far too harsh and may even scratch the skin. The most important thing to consider here is your own skin’s sensitivity.
Matching Bristles to Your Skin Type
For anyone with sensitive or reactive skin, a softer bristle is non-negotiable. Look for plant-based options like sisal or tampico fibers, which come from the agave plant. They offer a gentle exfoliation without feeling abrasive, making them a perfect starting point if you're new to this practice.
If your skin is a bit more resilient, or you’re an experienced brusher, you might prefer the feeling of a firmer brush. Boar bristles are a popular choice in this category. They’re noticeably stiffer and provide a more vigorous sensation that many people find incredibly satisfying.
Remember, the goal is to stimulate, not scrub. The bristles should feel firm and invigorating, but never painful or scratchy. If your skin is red and irritated after a session, that’s a clear sign your brush is too firm for you.
Your personal values can play a role here, too. Many brands now offer beautiful vegan brushes made entirely from plant-derived materials, like sisal bristles paired with a bamboo handle. This makes it easy to find a tool that aligns with a cruelty-free and sustainable lifestyle.
Deciding on the Right Handle
The handle might seem like a small detail, but it makes a huge difference in how easy and effective your routine is. The choice is usually between a long-handled brush and a smaller, hand-held one.
A long-handled brush is fantastic for reaching every single spot, especially the middle of your back. This design ensures you can maintain those proper upward strokes across your entire body without twisting yourself into a pretzel.
On the other hand, a smaller, hand-held brush (often with a strap that fits over your palm) gives you much better control and precision. It’s perfect for easily accessible areas like your arms, legs, and stomach, allowing you to really dial in the exact pressure you want. Honestly, many people find they like having both—a long-handled one for their full-body routine and a hand-held one for quicker, more targeted sessions.
Your Step-by-Step Dry Brushing Technique
The magic of dry brushing isn’t just in the motion, but in the ritual itself. To really get the most out of it, timing is everything. The sweet spot is right before you hop in the shower, always on completely dry skin. This way, you can immediately rinse away all those flaky, exfoliated cells and start fresh.
Find a quiet spot in your bathroom, maybe on a bath mat or towel, where you can have three to five minutes to yourself. Before you even pick up the brush, take a couple of deep, centering breaths. Turning this simple routine into a mindful practice is what elevates it from a task to a true moment of self-care.
Getting Started: The Brushing Method
The golden rule of dry brushing is to always brush toward your heart. This method is believed to follow the natural flow of your circulatory and lymphatic systems, giving your body a little helping hand. You’ll want to start at the very bottom—the soles of your feet—and work your way up.
Using long, sweeping, upward strokes, move from your ankles up to your knees, then from your knees toward your thighs. Let the strokes overlap slightly so you don’t miss any spots. Don't forget to get the front, back, and sides of each leg.
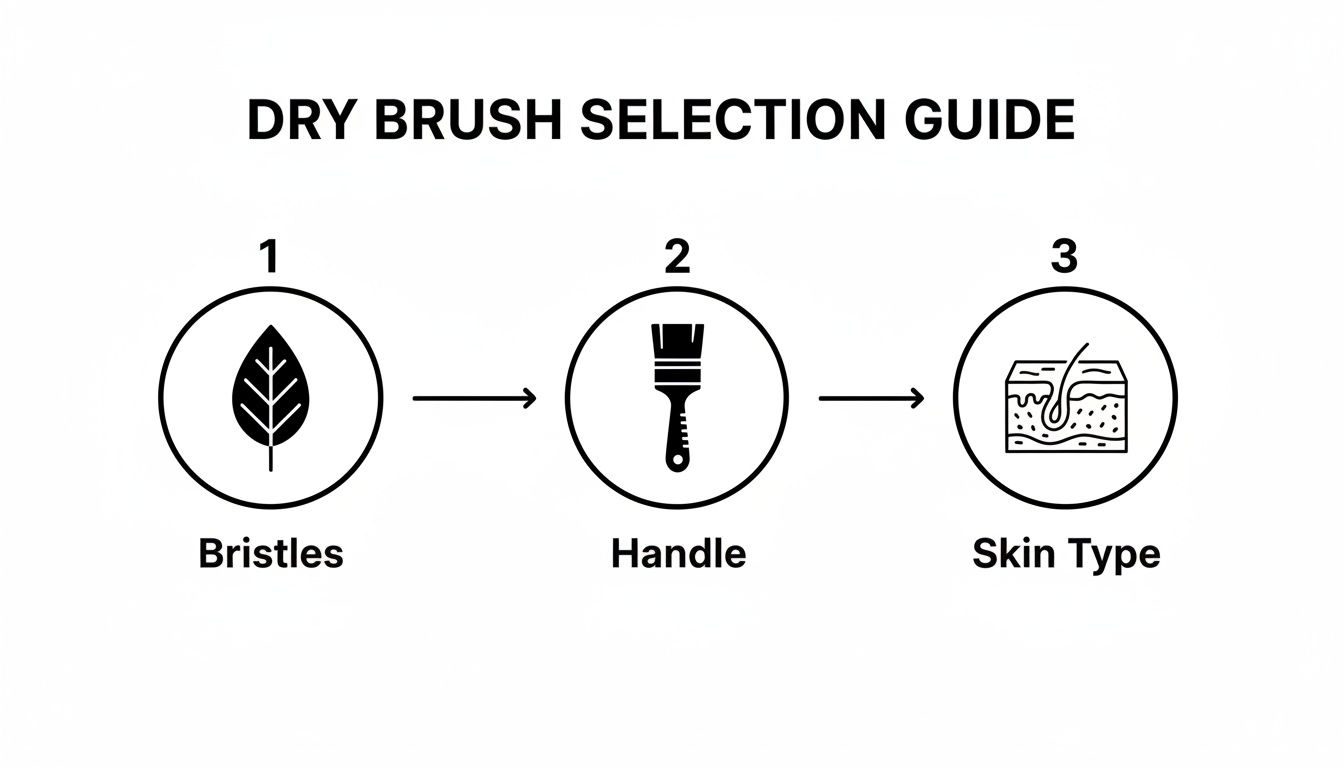
As this simple guide shows, choosing the right brush is the first and most important step. Your bristle type, handle length, and skin sensitivity will make all the difference in your routine.
Brushing Your Arms and Torso
After your legs are done, it's time for your arms. Start with your fingertips and use those same long, upward strokes, brushing all the way up to your shoulders. Just like with your legs, be thorough and cover the entire surface.
When you reach your torso, the motion changes. Switch to gentle, clockwise circles over your abdomen and chest. Most people find this circular movement feels much more comfortable and less abrasive on the sensitive skin around the stomach. For your back, a long-handled brush is a game-changer. Continue with those upward strokes, reaching as much of your back as you comfortably can.
To help you remember the right technique for each area, here's a quick guide.
Dry Brushing Motions by Body Area
This table breaks down the best motions for each part of your body to ensure you’re brushing effectively and safely.
| Body Area | Recommended Motion | Key Tip |
|---|---|---|
| Feet & Legs | Long, sweeping upward strokes | Start at the soles and move consistently toward the hip. |
| Arms & Hands | Long, sweeping upward strokes | Begin at your fingertips and brush toward your shoulders. |
| Stomach & Abdomen | Gentle, clockwise circles | Use a lighter touch here, as the skin is more sensitive. |
| Back | Long, upward strokes | A long-handled brush is essential for proper reach. |
| Chest & Décolletage | Gentle, outward sweeping motion | Avoid the delicate nipple area entirely. |
Following these simple directions helps create a consistent and effective ritual every time you brush.
While the technique itself is straightforward, it’s also potent. Remember to limit your sessions to just 3-5 minutes, only one to three times a week. Overdoing it can compromise your skin barrier. Some dermatologists note that up to 15-20% of people who brush too aggressively experience tiny micro-fissures in their skin. If you want to dig deeper into the data, you can find more on bath tool usage in this market report.
A Note on Pressure The goal is invigorating, not aggressive. You want to use firm pressure, but it should never, ever hurt or scratch. Your skin may turn a little pink—that’s perfectly normal and shows increased circulation—but it should never look bright red or feel irritated.
Finishing Your Ritual
Once you've brushed your whole body, it's time for that shower. A quick rinse is all you need to wash away the dead skin cells you’ve just sloughed off.
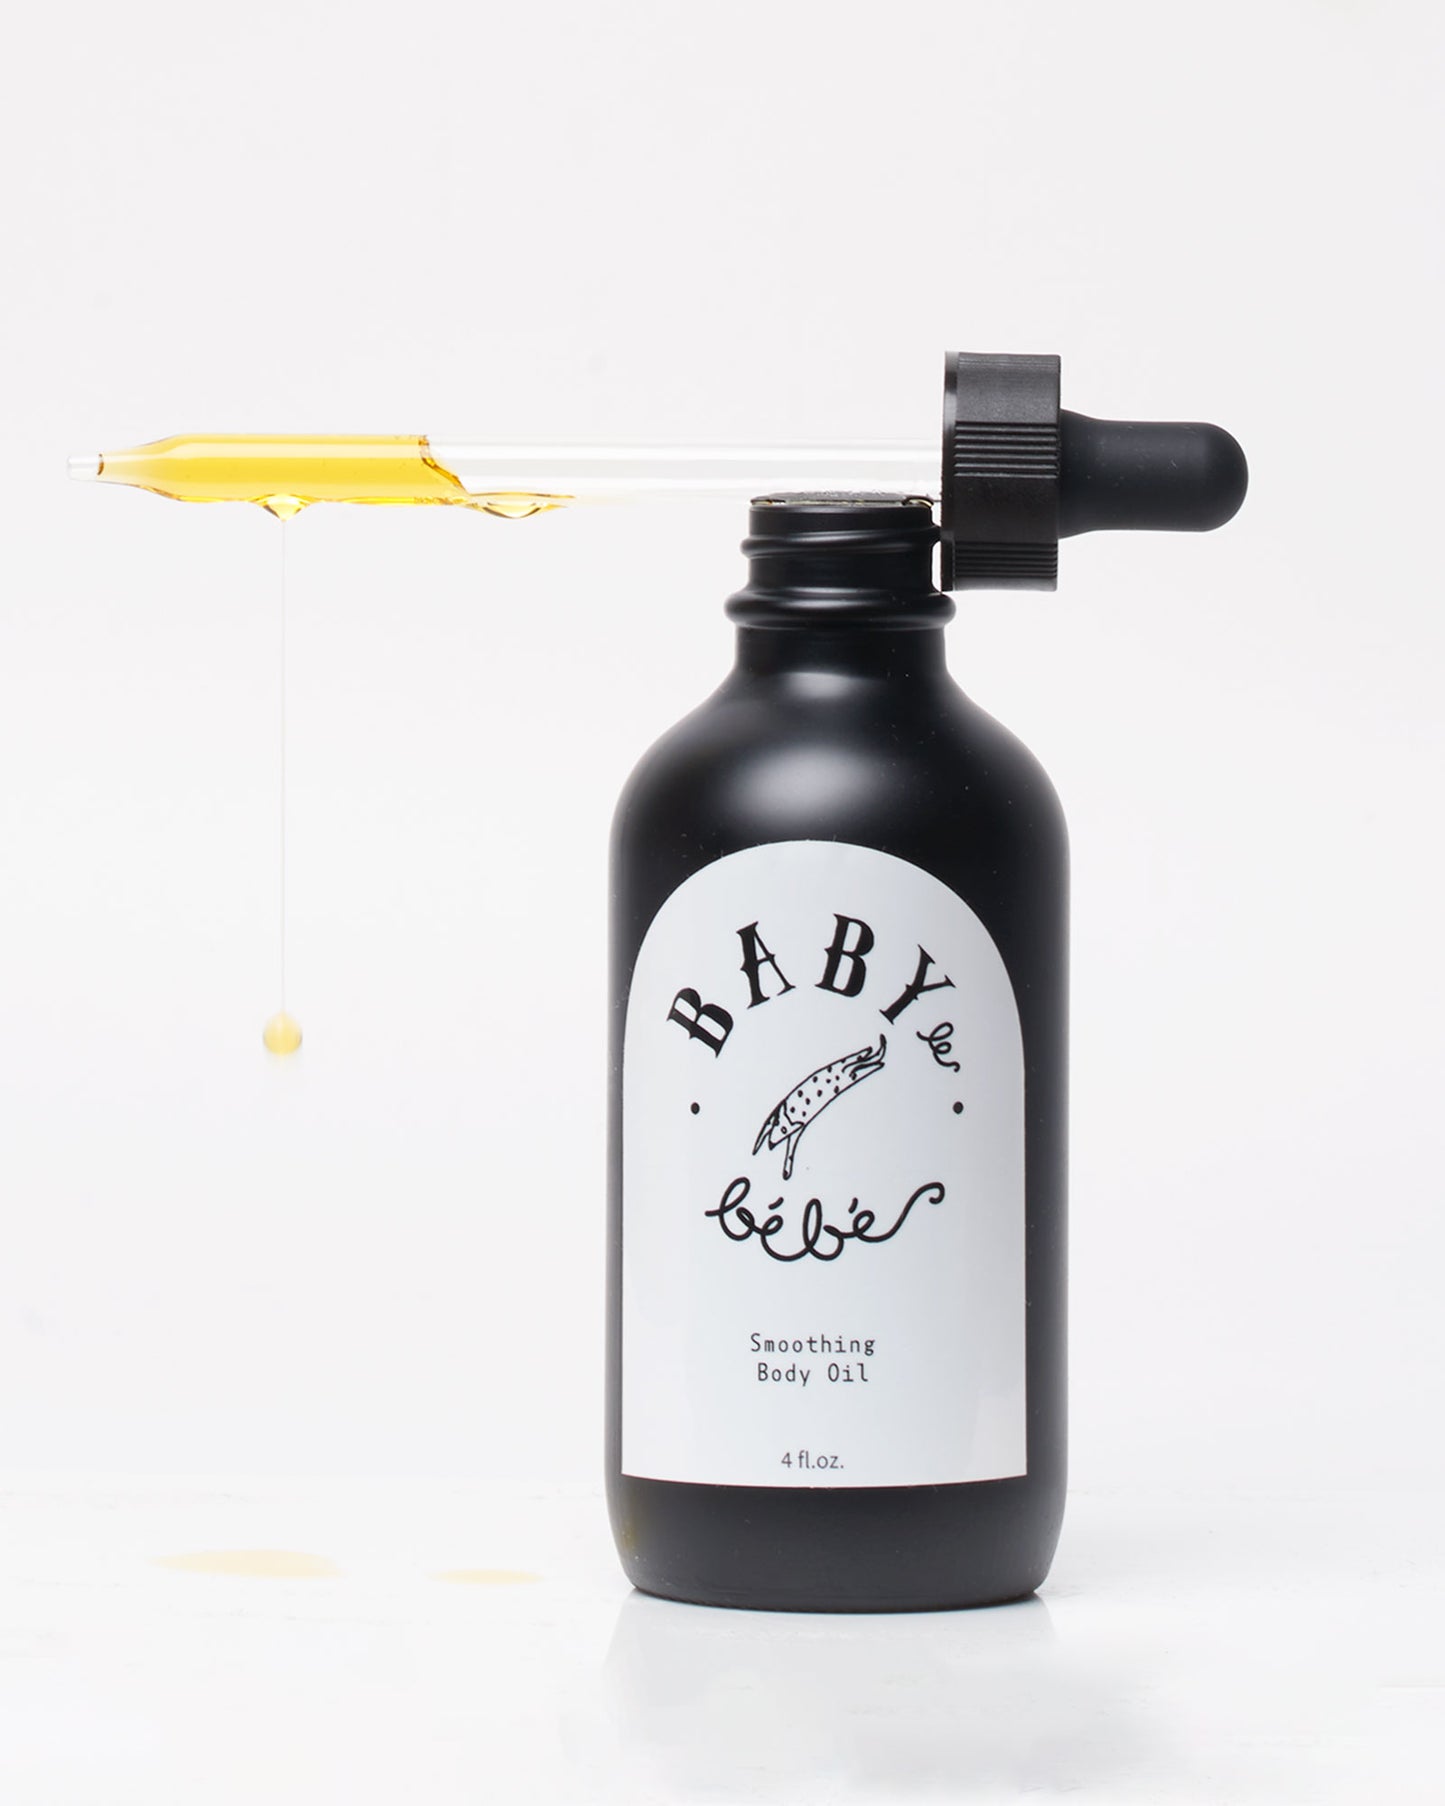
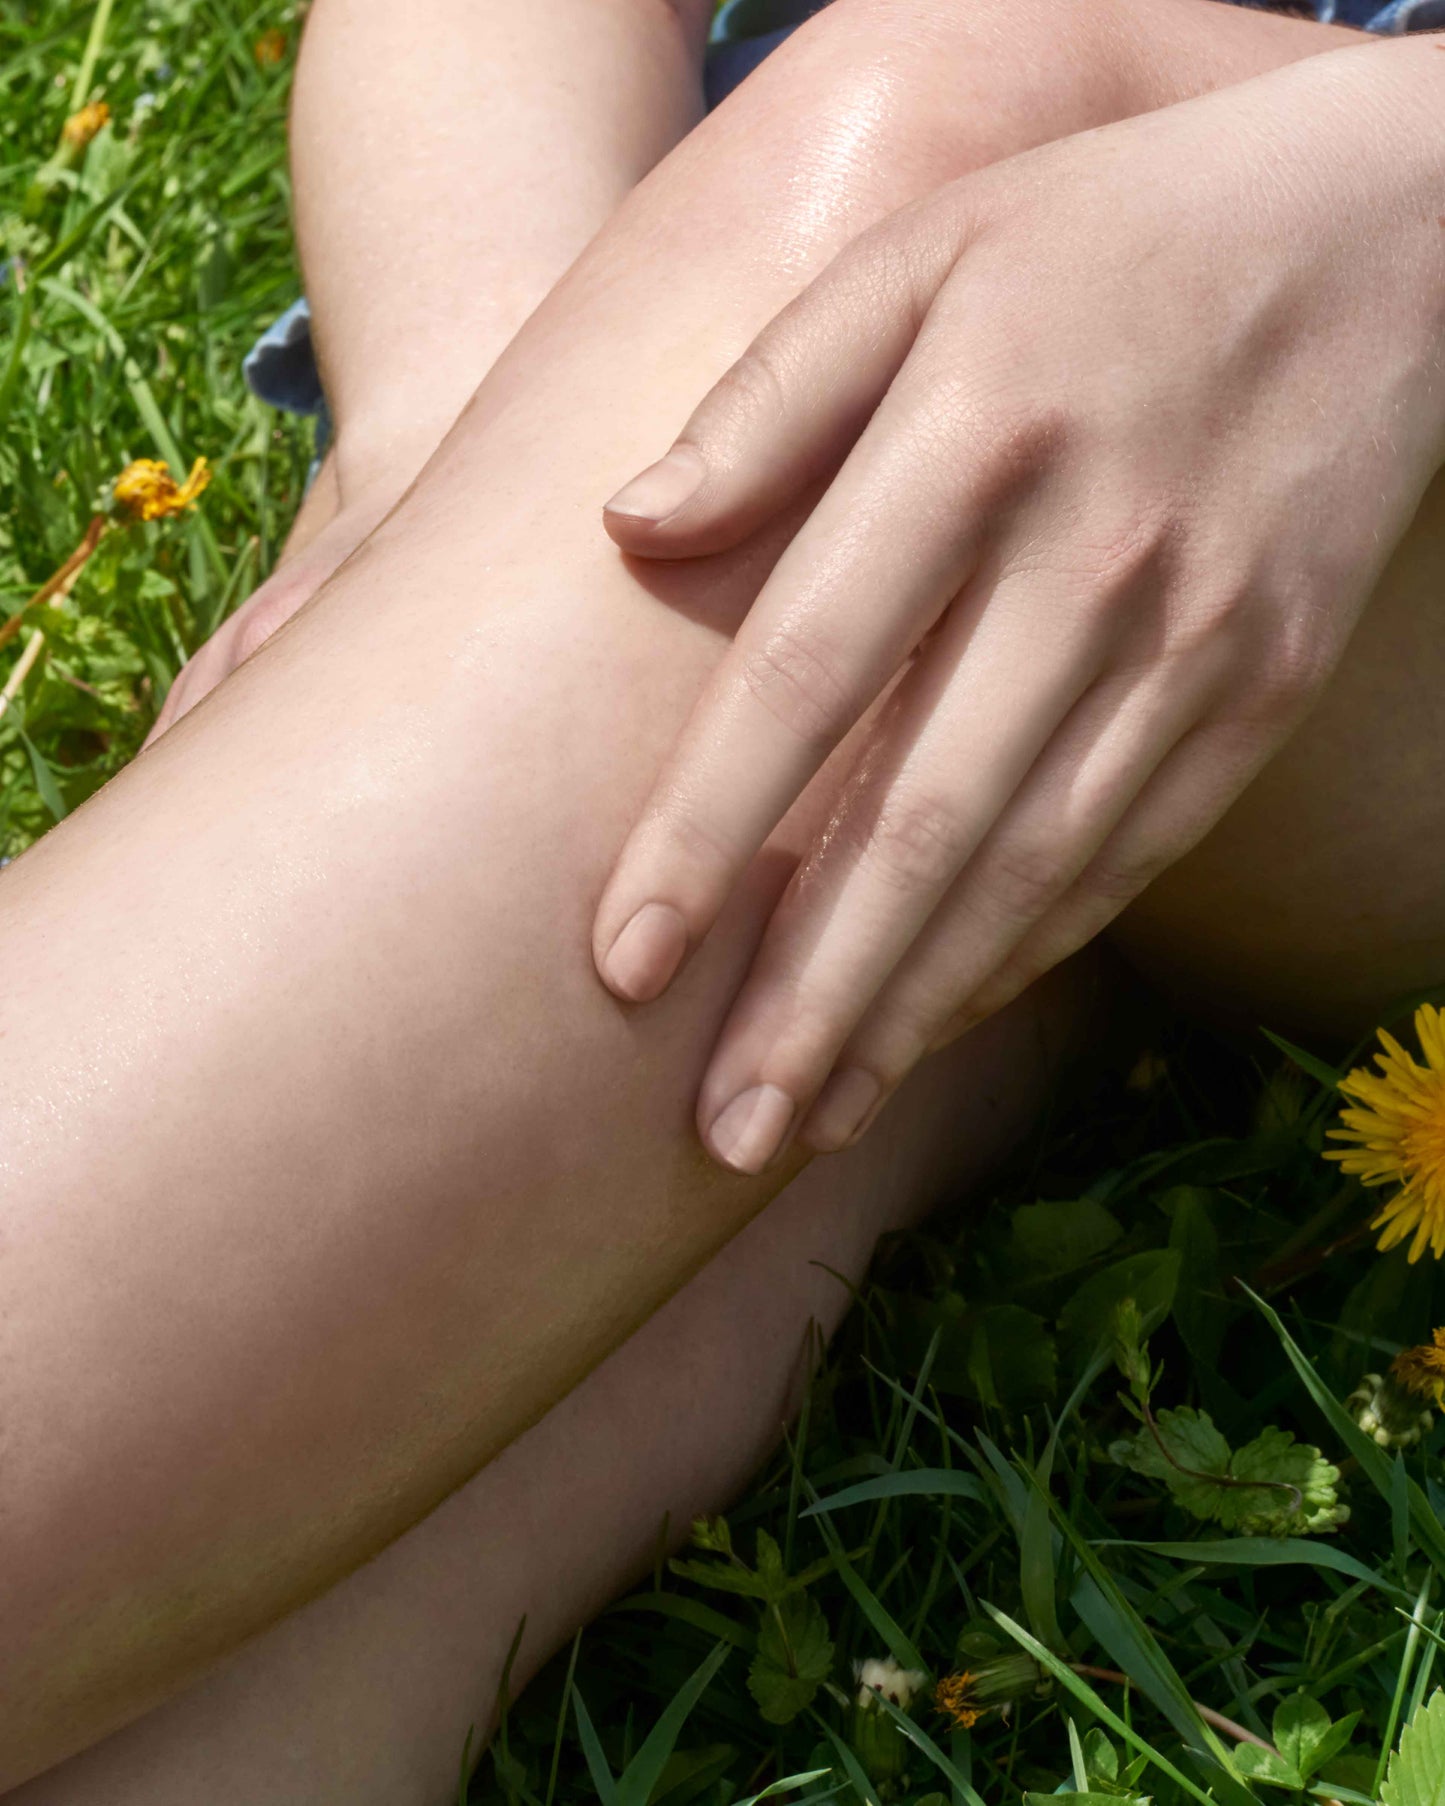
After your shower, gently pat your skin so it's still slightly damp. Immediately—and this part is key—slather on a high-quality, nourishing body oil. This final step is non-negotiable. It locks in moisture, soothes your freshly exfoliated skin, and gives you that incredible, post-brush glow.
The Post-Brush Glow and Essential Aftercare
That invigorating, tingly feeling after a good dry brush session is just the beginning. The real magic happens in the moments that follow. Think of aftercare as the final, non-negotiable step that transforms your efforts into a lasting, radiant glow.
Your first move? A quick, lukewarm shower. This simple rinse whisks away all the dead skin cells you just loosened up, leaving you with a clean slate. It preps your skin for deep hydration, making it far more receptive to the nourishing ingredients you apply next. Just be sure to avoid overly hot water, as freshly exfoliated skin can be a bit more sensitive.
Lock In Moisture with Botanical Body Oil
Once you're out of the shower, gently pat your skin with a towel but leave it slightly damp. This is the golden window for applying a high-quality botanical body oil. Applying oil to damp skin is a game-changing technique that traps water on the skin’s surface, delivering superior hydration and preventing moisture from evaporating.
This final touch replenishes your skin’s barrier, soothes any temporary pinkness, and leaves you feeling silky smooth. It’s the difference between skin that feels good and skin that feels incredible.
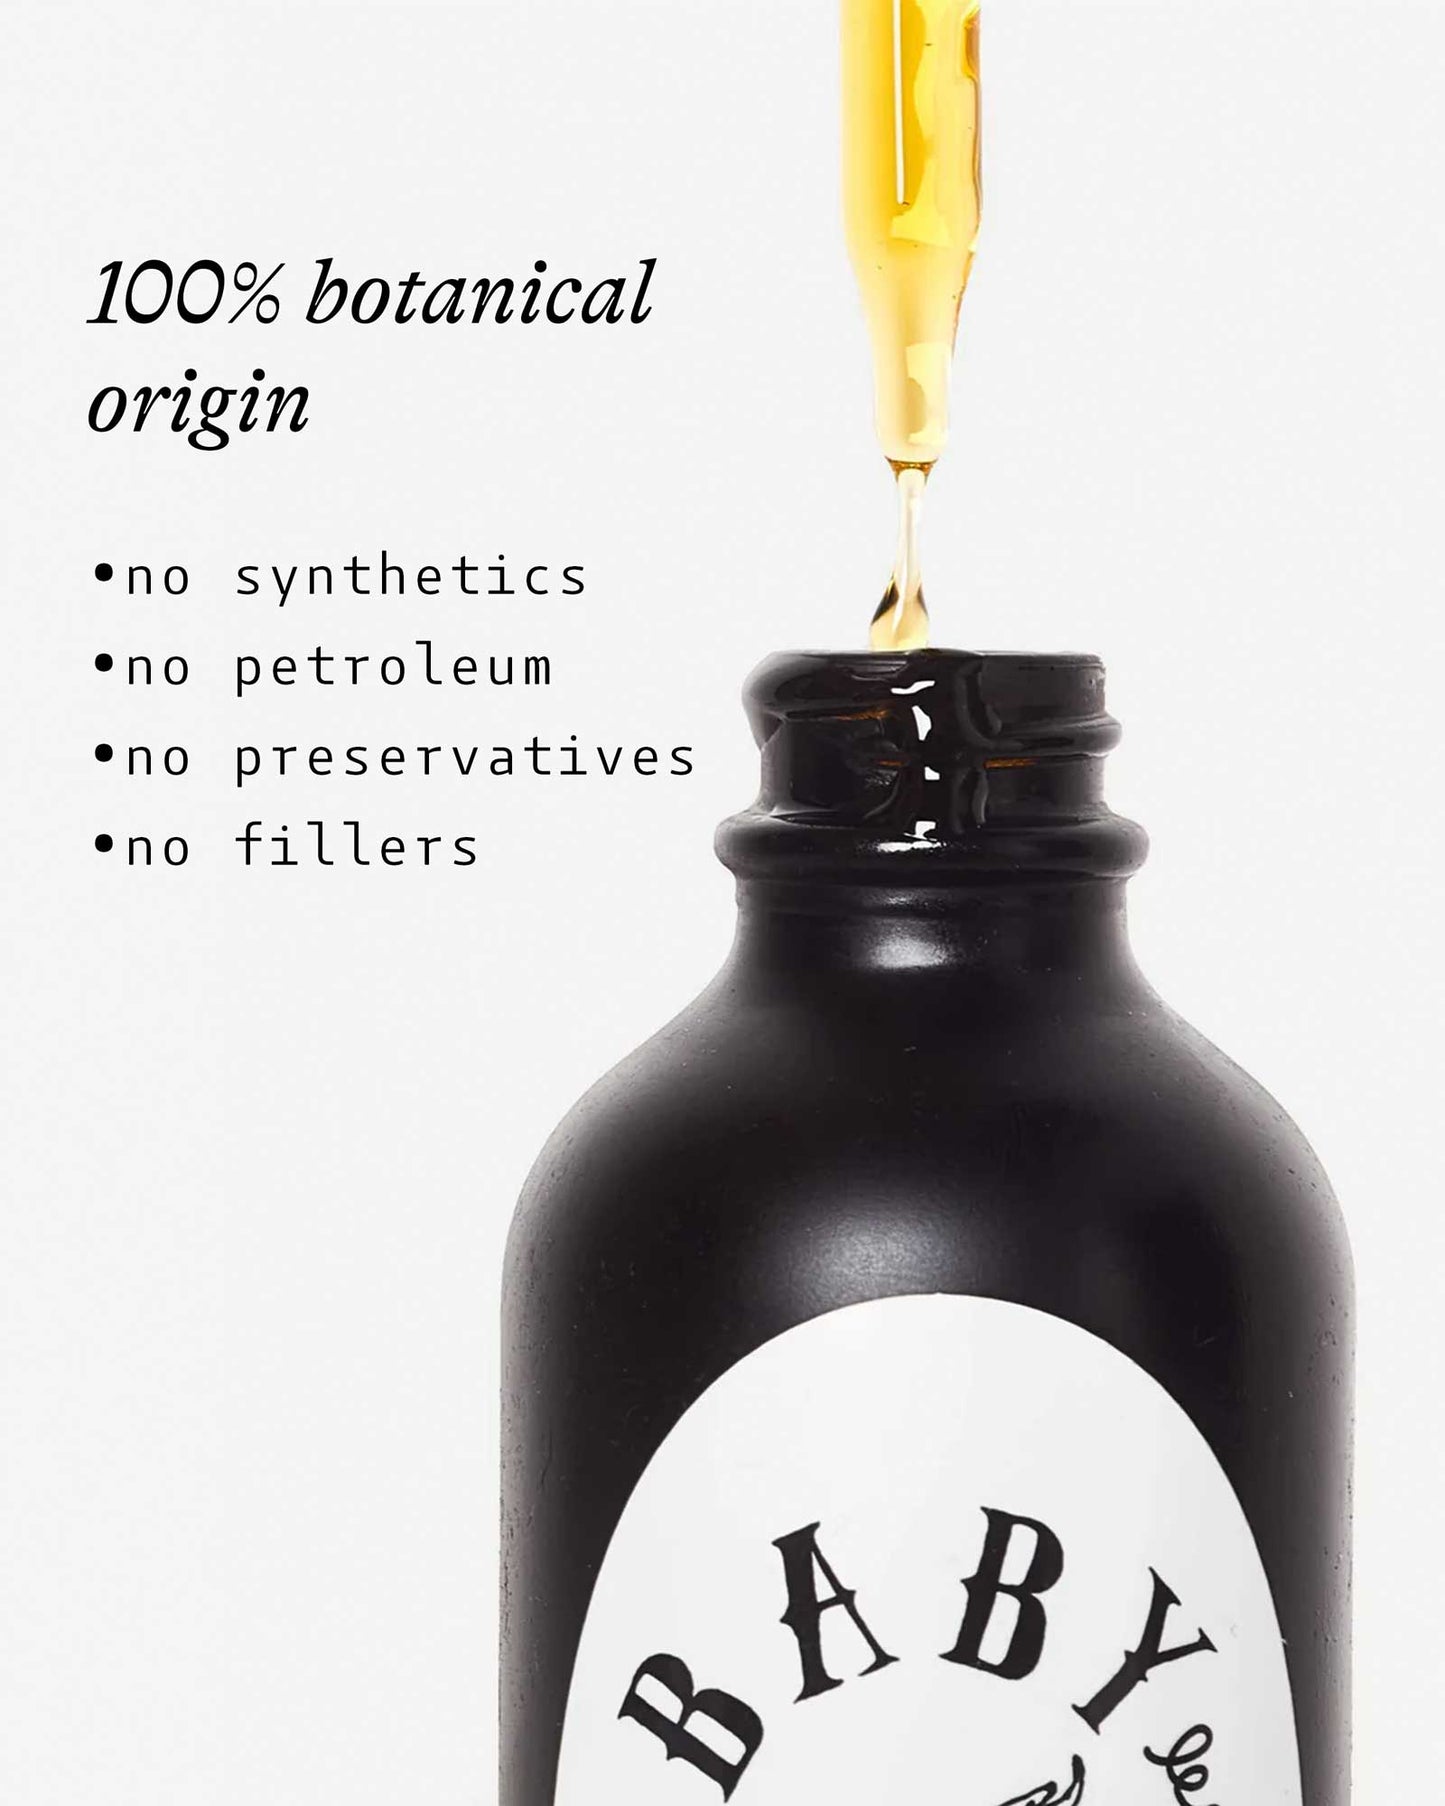
Pairing your post-brush routine with the right oil makes a huge impact. Tactile studies show that exfoliation can enhance microcirculation by 25-30%, allowing deeply nourishing, 99% organic ingredients to penetrate more effectively. In trials, this method was found to reduce dryness by as much as 35%—a major win for sensitive skin.
Choosing the Right Aftercare Products
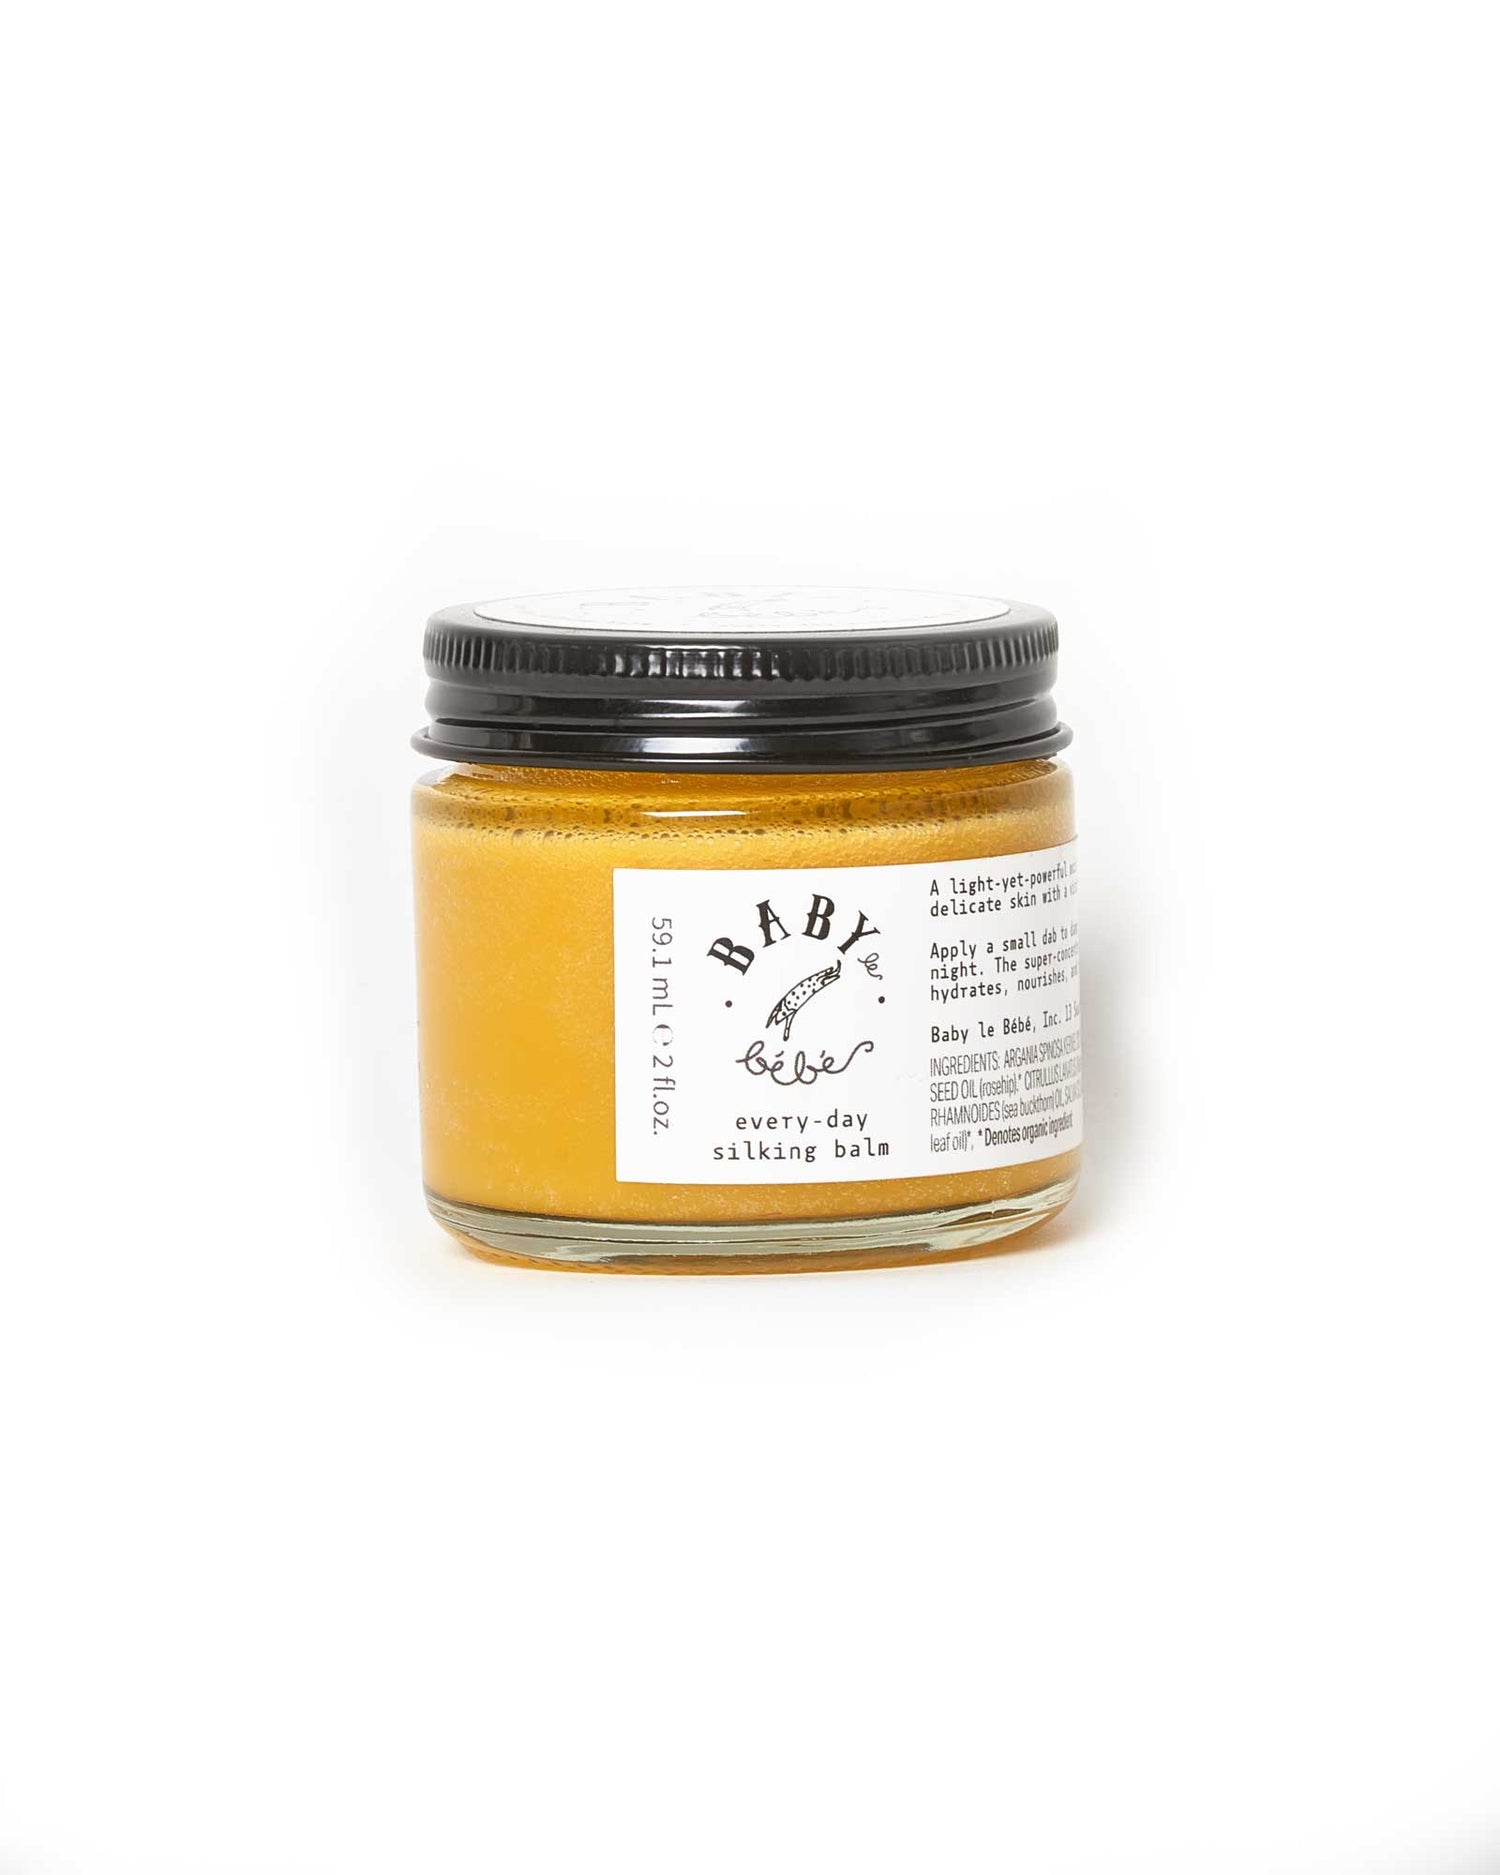
When you use a dry brush, you're supporting your skin's natural processes. It only makes sense to follow up with products that do the same. Look for body oils with clean, simple ingredient lists packed with plant-derived oils known for their soothing and moisturizing properties.
Some of the best ingredients to look for are:
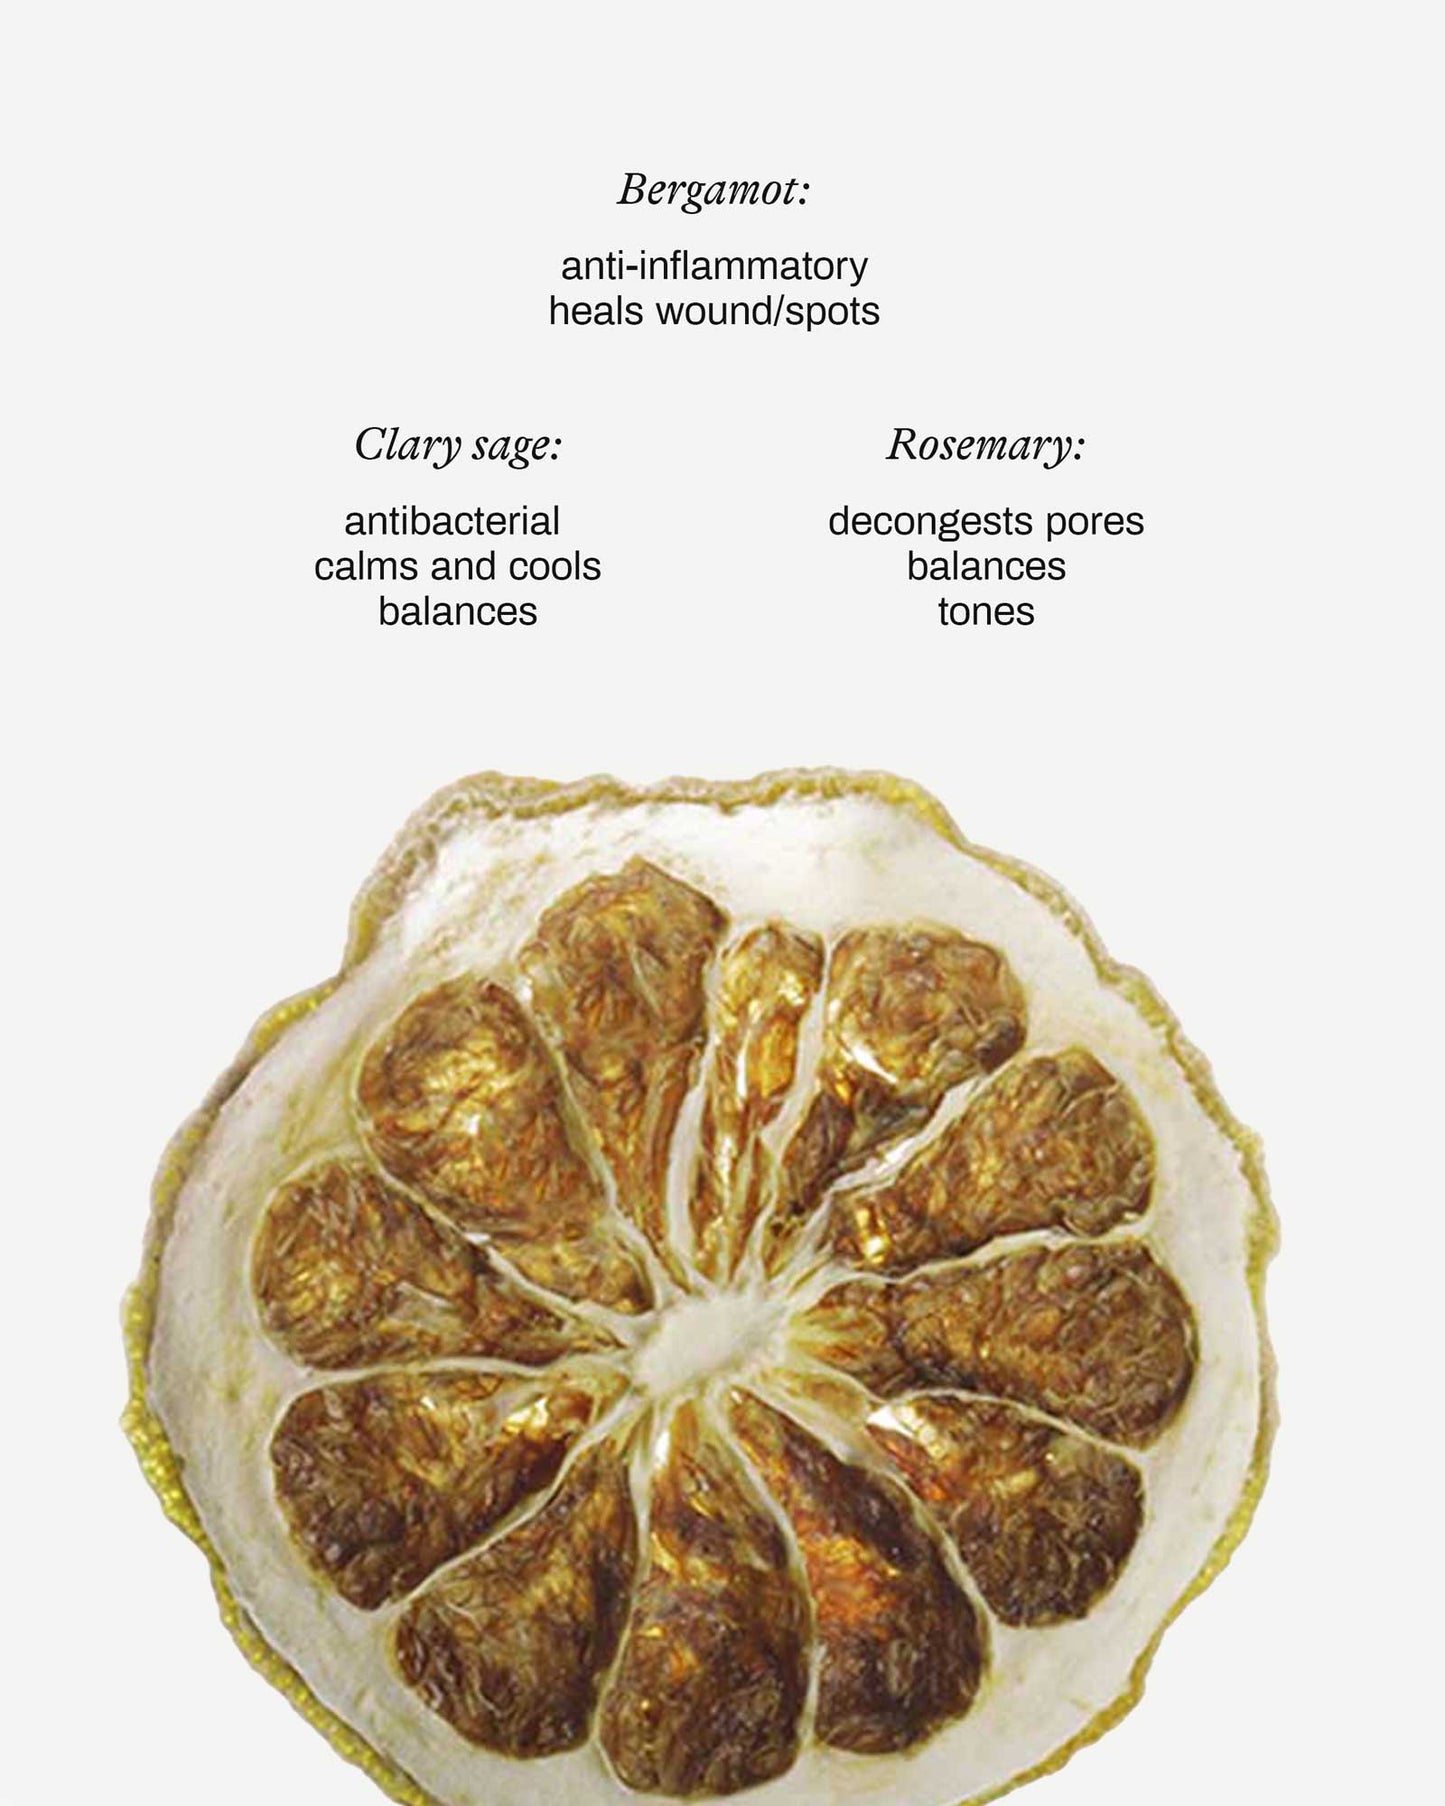
- Jojoba Oil: Mimics the skin's own sebum, making it incredibly compatible and quick to absorb.
- Apricot Kernel Oil: A lightweight oil rich in vitamins that helps to soften and calm the skin.
- Avocado Oil: Deeply nourishing and packed with fatty acids, making it perfect for very dry skin.
By completing your ritual with a nourishing oil, you’re not just moisturizing; you're actively calming, protecting, and feeding your skin. It solidifies dry brushing as a true act of self-care. To get your application just right, check out our guide on how to use body oil after a shower.
Dry Brushing Safely with Sensitive Skin
Just because you have sensitive or reactive skin doesn't mean you have to miss out on the ritual of dry brushing. It simply requires a little more mindfulness—and a much, much lighter touch.
The whole point is to adapt the technique to what your skin needs, ensuring it remains a calming, beneficial practice instead of a source of irritation.
The most important rule? Never, ever brush over compromised skin. This includes any areas with active eczema, psoriasis, rashes, cuts, scrapes, or sunburn. Brushing over these spots will only make inflammation worse and slow down the healing process. Just work around them, focusing only on healthy, unbroken skin. For those with sensitive skin, it's always a good idea to learn how to repair your skin barrier to keep it strong and resilient.
Adjusting Your Technique for Sensitive Skin
For delicate skin, your tools and your technique both need a gentle upgrade. Start with an extra-soft brush, often one made with plant-based sisal bristles. When you begin, think "feather-light." Seriously. The goal is to gently stimulate the skin's surface, not to scrub it raw.
-
Start Slowly. Limit your sessions to just once a week and see how your skin responds. If it feels good, you can gradually build up, but for sensitive skin, less is almost always more.
-
Keep It Short. A quick session of just one to two minutes is more than enough. You’ll still get that gentle exfoliation without overwhelming your skin.
-
Test It Out. Begin by brushing less sensitive areas first, like the soles of your feet or your shins. This helps you get a feel for the right amount of pressure before you move to more delicate spots like your inner arms or stomach.
The beauty of dry brushing for sensitive skin is that it offers mechanical exfoliation without potentially irritating chemicals. When done correctly, it can effectively slough off a significant percentage of dead cells and improve skin texture.
After your session, pay close attention to how your skin looks and feels. A slight pinkish flush is totally normal and just means you’ve boosted circulation.
However, if you notice significant redness, stinging, or any kind of irritation, that's your skin's way of telling you to use even less pressure next time, or maybe take a longer break between sessions. By listening to your body, you can make dry brushing a safe and lovely part of your routine.
A Few Common Dry Brushing Questions, Answered
Even with the best instructions, a few questions always come up when you start a new ritual. That’s a good thing—it means you’re paying attention.
Let’s clear up some of the most common curiosities that arise on the dry brushing journey. Getting these answers right will help you build a practice that feels intuitive, effective, and truly supportive for your skin.
How Often Should I Really Be Doing This?
This is easily the most common question, and the answer is refreshingly simple: listen to your body. For most people, starting with one to two times per week is the sweet spot. This gives your skin time to adapt to the stimulation without feeling overwhelmed.
If your skin feels resilient and you’re loving the glow, you might work up to three times a week. But if you notice any lasting redness or sensitivity, that’s your cue to pull back. In fact, many people with sensitive skin find that a gentle session just once every seven to ten days is more than enough to see beautiful results.
The goal is consistency, not intensity. A gentle, twice-weekly ritual will deliver far better long-term results than an aggressive daily session that leaves your skin stressed and irritated.
Remember, this is a supportive practice, not a demanding one.
Can Dry Brushing Actually Get Rid of Cellulite?
Let’s be direct here: no, dry brushing is not a magic wand for cellulite. Cellulite is a complex structural issue involving fat deposits and connective tissue, and a topical treatment alone can't eliminate it.
However, dry brushing can temporarily improve its appearance. The stimulating motion boosts circulation and plumps the skin by bringing more blood flow to the surface. This can make the skin look smoother and dimples less noticeable for a short time.
Think of it as a wonderful tool for improving your skin’s overall tone and texture. It leaves your skin looking smoother and feeling firmer, but it’s best to keep expectations realistic when it comes to cellulite. The real magic is in the proven benefits—exfoliation and invigorated, glowing skin.
What Is the Best Way to Clean My Dry Brush?
Good brush hygiene is non-negotiable. A clean brush not only works better but also prevents you from sweeping old skin cells and bacteria back onto your body. Thankfully, it’s a simple two-step process.
A Quick Clean After Every Use: Give the brush a few firm taps over the sink or a trash can. This simple motion dislodges the majority of the dead skin cells from the bristles, keeping it fresh for next time.
A Deeper Clean Once a Week:
- Run the bristles under lukewarm water.
- Add a drop of gentle soap (like a mild castile soap or baby shampoo) directly to the bristles.
- Work it into a soft lather with your fingers.
- Rinse until the water runs completely clear.
- Gently squeeze out the excess water, pat with a clean towel, and hang the brush somewhere with good air circulation to dry completely.
Oil Before or After?
This is a crucial one: always, always apply oil after dry brushing and after your shower.
The entire point of dry brushing is to use the friction of natural bristles on dry skin to effectively sweep away dead cells. Adding oil beforehand would make the brush glide right over the skin, completely undermining the exfoliating effect.
The perfect moment for moisturizer comes right after you’ve showered, while your skin is still a little damp. Your pores are open and receptive, ready to soak up hydration. Applying a beautiful botanical body oil right then will lock in moisture, soothe the skin, and amplify that incredible post-brush glow.
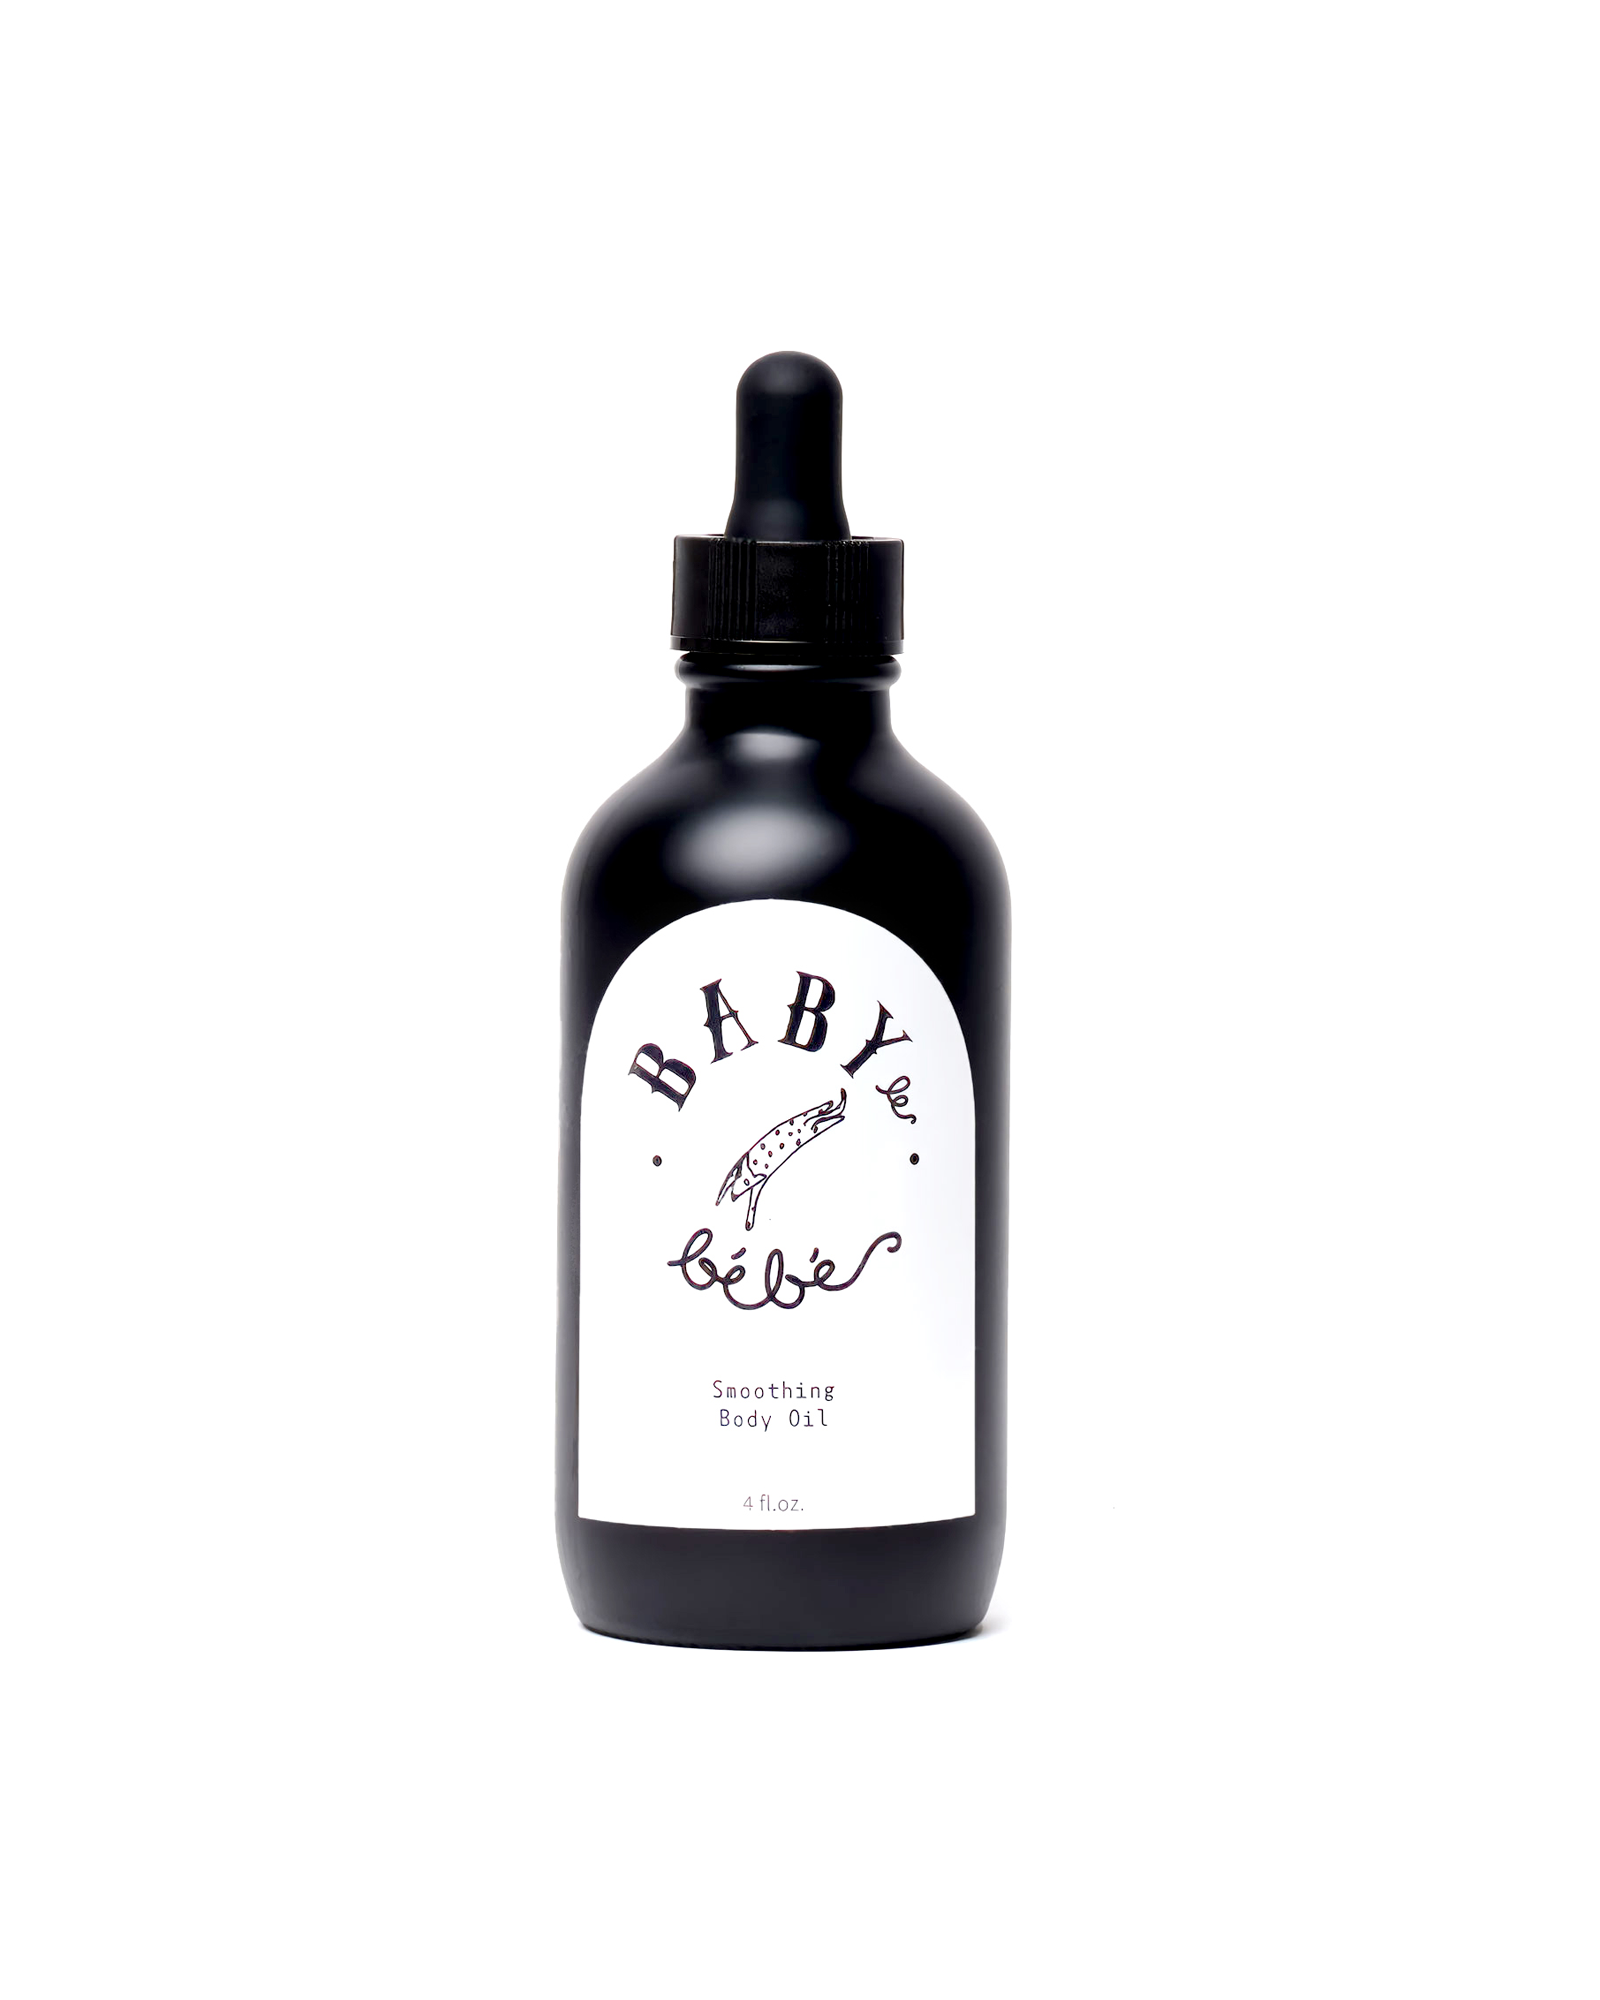
At Baby le Bébé, we believe in rituals that are both simple and deeply effective. Our botanical body oils are crafted with 100% natural and 99% organic ingredients to perfectly complement your dry brushing practice, leaving your skin calm, resilient, and radiant. Explore our collection at https://www.babylebebe.com.