

An at-home peel is a beautiful way to encourage your skin’s own renewal process, using gentle acids or fruit enzymes to dissolve away dull, tired surface cells. Think of it as revealing the smoother, brighter complexion that’s been waiting just underneath—all from the comfort and quiet of your own home.
The Allure of an At Home Peel
The desire for that fresh, revitalized glow has brought so many formerly spa-only treatments right into our own bathrooms. At-home peels are leading the way, offering a real solution for everything from dullness and texture to fine lines and stubborn discoloration. They make that coveted radiance feel safe, achievable, and entirely on your terms.
This guide is here to walk you through the entire process, moving past the intimidating myths that so often surround chemical exfoliation. Our focus will always be on a gentle, nurturing approach that deeply respects your skin’s health and integrity.
Shifting the Mindset From Harsh to Healing
For years, the thinking around peels was that stronger meant better. This often led to aggressive formulas, significant irritation, and long recovery times. Thankfully, that mindset is changing.
A more modern, skin-respectful philosophy shows that gentler, often botanical-based peels can deliver remarkable benefits without the risk. This is especially true if you have sensitive or reactive skin.
The benefits of a gentle approach are clear:
- A Calmer Experience: Gentle peels work with your skin, not against it. This means far less risk of redness, stinging, and sensitivity.
- Barrier Support: Ingredients like PHAs and fruit enzymes exfoliate without stripping your skin's delicate protective barrier.
- Beautiful, Consistent Results: You can use them more regularly for sustained improvement, rather than enduring aggressive, infrequent treatments that send your skin on a rollercoaster.
The goal of an at-home peel isn't to punish your skin into submission. It's to gently encourage its natural renewal process, revealing the healthier, more radiant skin that's waiting just beneath the surface.
This guide will be your roadmap to understanding, choosing, and performing a peel that leaves your skin feeling calm, resilient, and truly luminous.
Understanding the Science of Renewal
At its heart, a peel works by gently dissolving the "glue" that holds dull, dead cells to the surface of your skin. Unlike physical scrubs that can tear and scratch, this chemical process prompts a controlled and even exfoliation.
This action kickstarts cell turnover, a natural process that slows down as we age. By giving it a little nudge, a peel can help:
- Fade the appearance of dark spots and old acne marks.
- Smooth over fine lines and uneven texture.
- Decongest pores, which often leads to fewer breakouts.
- Allow your other skincare products to absorb better and work more effectively.
A gentle approach is so powerful because it achieves these results without causing the kind of inflammation that can actually lead to more skin issues. It's about encouraging a healthy, balanced cycle of renewal. In fact, this is a cornerstone of building an effective and truly non-toxic skincare routine.
By choosing the right ingredients and following a safe process, you can make an at-home peel a valuable part of your self-care ritual. The focus is always on nurturing your skin's long-term health for a complexion that isn't just temporarily smooth, but genuinely healthy from within.
Choosing the Right Peel for Your Skin
Venturing into the world of at-home peels isn't about diving into a chemistry class. It’s about letting go of the old “stronger is better” myth and instead finding a gentle, intelligent match for your unique skin.
True success with an at home peel comes from working with your skin, not against it. This is your guide to understanding the most common exfoliating acids, and more importantly, their kind, botanical-based alternatives. We’ll help you choose an ingredient that targets your concerns while honoring your delicate skin barrier.
Decoding the Exfoliating Acids
Most chemical exfoliants fall into just a few families. Knowing what makes them different is the key to making a truly informed choice for your skin. It’s all about matching the molecule to your mission, whether that’s calming breakouts or softening fine lines.
Alpha Hydroxy Acids (AHAs) are water-soluble, meaning they work their magic right on the surface. They’re fantastic for dullness, uneven texture, and those first signs of aging. While glycolic acid is the most famous AHA, its tiny molecule size can sometimes feel a bit too aggressive for many.
For a gentler touch, lactic acid is a beautiful alternative. Its larger molecule size means it penetrates more slowly and is far less likely to cause irritation. As a bonus, it’s a natural humectant, so it exfoliates while pulling moisture right back into the skin.
The main Beta Hydroxy Acid (BHA) you’ll see is salicylic acid, and it’s oil-soluble. This special quality lets it travel deep inside your pores to dissolve the gunk—that mix of sebum and dead skin cells—that causes blackheads and blemishes. If congestion or oily skin is your primary concern, BHA is a focused, effective friend.
Exploring the Gentlest Exfoliants
For those with sensitive skin, or anyone just beginning their journey with acids, even kinder options exist. These ingredients deliver gorgeous results without the risk of redness or irritation that can come from more traditional acids.
Polyhydroxy Acids (PHAs), like gluconolactone, are the gentle giants of the acid world. Their molecules are much larger than AHAs, so they work exclusively on the very top layer of skin. This makes them exceptionally suited for sensitive or reactive skin, offering smoothing and hydrating benefits with almost no risk.
A successful at home peel isn't about feeling a burn; it's about seeing a glow. The gentlest ingredients are often the most effective because they support your skin's health without triggering an inflammatory response.
Mandelic Acid is another hero for sensitive complexions. Derived from bitter almonds, this AHA has a larger molecular structure than glycolic acid, giving you a much slower, more gentle exfoliation. It’s also naturally antibacterial, making it a great pick for tackling both signs of aging and occasional breakouts without stirring up trouble.
The Power of Botanical Enzymes
For a truly nature-derived approach, look no further than fruit enzymes. These botanicals exfoliate in a completely different way that is remarkably effective yet incredibly gentle. They’re a perfect fit for nearly every skin type.
Unlike acids that dissolve the “glue” between skin cells, enzymes specifically digest the protein (keratin) in the dead, hardened cells sitting on the surface. They leave healthy, living cells alone, which dramatically lowers the chance of irritation.
Two of the most popular enzymes in skincare are:
- Papain: Sourced from papaya, this enzyme is brilliant for brightening and smoothing the skin's surface.
- Bromelain: Derived from pineapple, this enzyme helps to gently resurface the skin and has wonderful soothing properties.
Enzyme peels are the ideal entry point into at-home exfoliation. They give you an immediate boost in radiance and softness, all without the downtime or sensitivity that stronger acids can cause.
Choosing Your Gentle At Home Peel Ingredient
To make this choice feel simple, think about your primary skin goal. Are you hoping to clear up congestion? Soften fine lines? Or just achieve an overall brighter, healthier appearance? Your answer will point you toward the right ingredient family.
This table breaks down some of the best gentle options for your very first at home peel, connecting each ingredient to its natural source and best use.
| Ingredient | Natural Source | Best For | Gentleness Level |
|---|---|---|---|
| Lactic Acid | Soured Milk, Bilberries | Dullness, Dryness, Fine Lines | Gentle |
| Mandelic Acid | Bitter Almonds | Sensitive Skin, Acne, Aging | Very Gentle |
| Papain | Papaya | General Brightening, Texture | Extremely Gentle |
| Bromelain | Pineapple | Smoothing, Soothing | Extremely Gentle |
| PHAs | (Gluconolactone) | Extremely Sensitive Skin, Rosacea | Extremely Gentle |
Start by choosing a product with a low concentration of your chosen ingredient. By starting low and going slow, you give your skin the chance to acclimate, ensuring your journey with at-home peels is a safe, effective, and beautiful one from the very beginning.
The Pre-Peel Ritual for Safe Results
That coveted, post-peel glow doesn't just happen. It begins days before the peel solution ever touches your face. The secret to a successful, irritation-free at-home peel is all in the prep work—a quiet, thoughtful ritual that acts as your best defense against sensitivity.
Think of it as creating the perfect canvas for renewal. Your goal in the days leading up to your peel is to build a strong, calm, and deeply hydrated skin barrier. When your skin is resilient, it's far less likely to react negatively, allowing the peel to work its magic evenly and effectively.
Hit Pause on Actives
This is the most critical step. To prepare your skin, you need to stop all other forms of exfoliation. Applying a peel to already-exfoliated skin is a recipe for redness, irritation, and potential damage. It's a common mistake, and it's so easy to avoid.
For at least 3-5 days before you plan to do your peel, you absolutely must stop using:
- Other Acids: This means any cleansers, toners, or serums containing AHAs, BHAs, or PHAs.
- Retinoids: Press pause on all forms of vitamin A, including retinol, retinal, and prescription tretinoin.
- Physical Scrubs: Set aside facial scrubs, exfoliating brushes, or any abrasive cleansing tools.
- Potent Vitamin C: While not always an exfoliant, a strong L-ascorbic acid serum can increase sensitivity for some people. It's wise to take a break from this, too.
This "rest period" gives your skin a chance to fully recover, ensuring its barrier is intact and ready for treatment.
Focus on Gentle Hydration
With exfoliants on hold, your routine should pivot entirely to gentle cleansing and deep, comforting hydration. This isn’t the time to experiment with new products. Stick to the simple, trusted formulas you know your skin loves.
Your pre-peel routine should look something like this:
- Cleanse Gently: Reach for a mild, non-stripping cleanser that leaves your skin feeling soft, never tight or squeaky. Creamy or oil-based formulas are perfect for this. If you need inspiration, our guide to using a gentle cleanser for sensitive skin can help you find a soothing option.
- Hydrate, Then Hydrate Some More: Layer on hydrating serums with ingredients like hyaluronic acid, glycerin, or beta-glucan to plump up your skin cells with moisture.
- Nourish and Seal: Finish with a simple, barrier-supporting moisturizer to lock everything in.
Think of your skin like a sponge. A dry, brittle sponge will crack under pressure. A hydrated, pliable one can handle the treatment with resilience.
The Non-Negotiable Patch Test
This is your safety net. The patch test is the final, most crucial step before you apply a peel to your entire face for the first time. It’s how you confirm your skin can tolerate the formula without an adverse reaction. It is absolutely non-negotiable.
Think of pre-peel prep as creating the perfect canvas. A calm, hydrated, and resilient skin barrier is your ticket to a successful and irritation-free treatment.
Here’s how to do it right:
- Pick a Discreet Spot: Apply a tiny amount of the peel solution to an out-of-the-way area, like just behind your ear or on the underside of your jaw.
- Follow the Clock: Leave it on for the minimum time recommended in the product’s instructions. Then, neutralize and rinse it off exactly as you would during a full application.
- Wait and Watch: Keep an eye on the area for 24 to 48 hours.
You’re looking for any signs of a true adverse reaction—things like excessive redness that doesn't fade, swelling, intense itching, or blistering. A little temporary pinkness can be normal, but if you see any signs of a real allergic reaction or severe irritation, that peel is not the right fit for your skin.
A Step-by-Step Guide to Flawless Application
This is the moment all your careful prep work has been leading up to. Applying your at home peel should feel like a calm, controlled ritual—never a frantic, stressful race against the clock. With safety as our guiding principle, we’ll walk you through each part of the process so you feel completely confident from start to finish.
Think of this as a mindful practice, a moment of intentional renewal. By following these guidelines, you can ensure the experience is both effective and beautifully gentle.
The Immediate Pre-Application Checklist
Before you even think about opening that bottle, get your station ready. Have your peel solution, a small glass dish (if needed), your fan brush or applicator, a timer, and your neutralizing product all laid out and within arm’s reach. Trust me, the last thing you want is to be fumbling for a neutralizer while your skin is tingling.
Once you’re set up, it’s time for the final skin prep.
-
Cleanse Your Skin Thoroughly: Start with a gentle, non-stripping cleanser to lift away every last trace of makeup, SPF, and surface oils. Pat your skin completely dry with a soft towel. Applying an acid peel to damp skin is a common mistake that can cause it to penetrate too deeply and unevenly.
-
Protect Your Delicate Areas: Your skin isn't the same all over. Using a simple occlusive balm—think something like petroleum jelly or a thick, unscented lip balm—create a protective barrier around the most sensitive spots. This includes the corners of your nose, the outer corners of your eyes, and just around your lips.
These simple moves ensure the acid works exactly where you want it to and nowhere else, preventing accidental irritation in those naturally delicate zones.
The Art of the Application
Now, you're ready. Set your timer for the minimum recommended time listed on the product’s instructions. Especially for your first time with any new peel, being conservative is always the smartest path.
Using a clean fan brush or your fingertips, sweep a thin, even layer of the solution across your face. I always recommend starting with the less sensitive areas—your forehead, cheeks, and chin—before lightly gliding it over your nose and upper lip.
A crucial takeaway: more is not better. A thick, goopy layer won't make the peel work faster or more effectively. It only increases the risk of an unpredictable, uneven result and potential irritation.
A single, sheer layer is all you need for the active ingredients to do their work. Focus on evenness, not volume.

As this visual shows, a successful peel is built on a foundation of pausing other actives, hydrating the skin barrier, and always, always performing a patch test first.
Reading Your Skin’s Signals
As the peel gets to work, you’ll start to feel something. It’s absolutely vital to know the difference between a normal, expected sensation and a warning sign telling you to stop immediately.
What's Normal?
- A Mild Tingle: This is the most common feeling. It’s a slight prickling or buzzing on the skin that tells you the acids are active.
- A Feeling of Warmth: Your skin might feel a bit warm to the touch as circulation increases.
- A Slight Itchiness: Some light, passing itchiness is also perfectly normal for many people.
These sensations should feel totally manageable. They’re just a sign that the exfoliation process has begun.
What Are the Warning Signs?
- An Intense Sting or Burn: The feeling should never cross the line from "tingly" to "painful." If you feel a sharp, biting, or burning sensation, it’s a clear signal to neutralize right away.
- Significant, Patchy Redness: While a uniform pink flush is common, if you see distinct patches of angry, beet-red skin forming, your skin is not happy.
- Frosting: This is when parts of your skin turn a whitish color. It's a sign the peel has gone too deep and is coagulating proteins in the skin. If you see this, rinse it off immediately.
Listen to your skin and trust your intuition. If at any point you feel genuinely uncomfortable, it is always better to end the session early than to push through and risk a chemical burn.
The Crucial Neutralization and Rinse
When your timer goes off—or if you experience any of those warning signs—it’s time to neutralize. Some peel kits come with a specific neutralizing solution, which is usually a simple alkaline mixture (like a sodium bicarbonate spray or gel) that stops the acid's activity on contact.
If your peel came with a neutralizer, apply it generously right on top of the peel solution. You might feel a little warming or fizzing as the acid is deactivated.
If your peel doesn't require a separate neutralizer (many gentler enzyme or PHA peels don't), your next step is to rinse. Using cool—never hot—water, splash your face repeatedly for at least a full minute. Be sure to rinse every nook and cranny, especially around your hairline and jaw, to remove all traces of the product.
After rinsing, gently pat your skin dry with a fresh, soft towel. Your skin is in a fragile state, so avoid any rubbing or friction. The hard part is over. Now, your focus shifts entirely to calming, soothing, and hydrating aftercare.
The Post-Peel Recovery Plan
The moments after you rinse off an at home peel are just as critical as the application itself. Your skin is now a fresh, delicate new surface. It needs gentle, thoughtful care to heal beautifully and reveal that glow you’ve been working toward.
For the next three to seven days, your skincare philosophy should be beautifully simple, focusing on two things and two things only: calm hydration and unwavering protection.
Think of your skin as a newly sprouted leaf—incredibly receptive but also exquisitely vulnerable. This is not the time for more actives or complex routines. It's a time for quiet restoration, letting your skin recover its strength and balance in a peaceful, supportive environment.
The Soothe and Hydrate Phase
Immediately after your peel and for the following few days, your skin will be thirsty. The exfoliation process can temporarily disrupt its moisture barrier, so your job is to replenish it with gentle, loving care. This means stripping your routine back to its bare, nourishing essentials.
Your post-peel recovery kit should feature:
- A Gentle Cleanser: Use something creamy, milky, or oil-based that cleans without stripping. Anything that leaves your skin feeling tight or “squeaky clean” is far too harsh right now.
- A Hydrating Serum: This is your hero product. Look for serums rich in ingredients like hyaluronic acid to draw in moisture and ceramides to help rebuild your skin barrier.
- A Simple, Nourishing Moisturizer: Choose a bland, comforting cream to lock in hydration and provide a protective layer against the environment. Think ingredients like shea butter, squalane, or colloidal oatmeal.
This streamlined routine gives your skin exactly what it needs to heal without feeling overwhelmed. If you're looking for more guidance on restoring that crucial protective layer, we have some valuable tips in our article about how to repair your skin barrier.
What You Must Avoid Post-Peel
What you don't put on your skin is just as crucial as what you do. To prevent irritation and protect your results, you have to shelve the following for at least 5-7 days:
- All retinoids (retinol, retinal, tretinoin)
- Any other exfoliating acids (AHAs, BHAs, PHAs)
- Physical scrubs or exfoliating brushes
- High-potency vitamin C serums (especially L-ascorbic acid)
- Harsh, foaming cleansers that contain sulfates
- Fragrance and essential oils, which can be irritating to sensitized skin
Think of post-peel care as a conversation with your skin. For the next few days, it's asking for one thing: gentle, soothing hydration. Listening to that request is the key to a calm, radiant result.
The Absolute Mandate of Sun Protection
If there is one non-negotiable rule of post-peel care, this is it. After an at home peel, your skin’s natural defense against UV radiation is significantly lowered, making it profoundly vulnerable to sun damage.
Exposing your newly revealed skin to the sun without protection can undo all your hard work. Even worse, it can trigger post-inflammatory hyperpigmentation (PIH), leading to the very dark spots you may have been trying to fade in the first place.
You must commit to applying a broad-spectrum sunscreen with an SPF of 30 or higher every single morning, without fail. This is true even if you’re staying indoors, as UVA rays easily penetrate windows.
For this delicate period, a mineral-based sunscreen with zinc oxide or titanium dioxide is often the gentlest choice, as it sits on top of the skin rather than being absorbed. Reapply it if you sweat or are outdoors for extended periods. This diligence is your insurance policy for a beautiful, even-toned outcome.
Common Questions About At Home Peels
Dipping your toes into the world of at-home peels can feel a little nerve-wracking at first, and it’s natural to have a few last-minute questions. Building your confidence is the key to a calm, successful experience, so let’s walk through the most common concerns people have before they begin.
These answers will reinforce the gentle, safety-first approach we’ve been talking about, making sure you feel completely ready for your skin renewal ritual.
How Often Can I Safely Do an At Home Peel?
There’s no one-size-fits-all answer here. The right frequency depends entirely on the peel's strength and, most importantly, how your unique skin responds.
For very gentle formulas, like those built around fruit enzymes or a low-concentration lactic acid, you might find that every 1-2 weeks works well once your skin is fully accustomed to them. For anything stronger, starting with once a month is a much safer rhythm.
The most important rule is to listen to your skin. If you notice any persistent redness, lasting sensitivity, or excessive flaking, your skin is telling you it needs more recovery time between sessions. The goal is steady rejuvenation, not chronic inflammation.
Is Tingling or Redness Normal During a Peel?
Yes, a little bit of sensation is completely normal and even expected. A mild, temporary tingling is very common—it’s a sign that the active ingredients are doing their job and exfoliating the skin’s surface.
A slight, uniform pinkness right after you rinse is also normal for many people and should fade within an hour or so.
However, you should never feel an intense sting or a burning pain. If the sensation quickly shifts from a manageable "tingle" to an uncomfortable "burn," that is your skin's clear signal to stop. Neutralize and rinse the peel off immediately, no matter how much time is left on your timer. Widespread, angry redness that lingers is a sign of irritation, not a successful treatment.
Can I Use an At Home Peel with Sensitive Skin or Rosacea?
This requires extreme caution. If you have a diagnosed condition like rosacea, eczema, or perioral dermatitis, we strongly recommend talking to a dermatologist before trying any at-home peel. Their guidance is essential.
If you do get the all-clear from a professional, you must stick to the absolute gentlest options out there. These include:
- Polyhydroxy Acids (PHAs): These have a large molecule size, making them exceptionally gentle and well-tolerated.
- Enzyme-based peels: Peels using papaya (papain) or pineapple (bromelain) are known for being very soft on the skin.
- Low-strength Mandelic Acid: Another great choice, known for its slow, gentle penetration.
A patch test is non-negotiable for sensitive skin. You’ll also want to start with the shortest possible application time, like just 30-60 seconds, to carefully see how your skin reacts. When you have questions about what to expect, looking at realistic chemical peeling before and after results from professional treatments can also help set the right expectations for your own gentle journey.
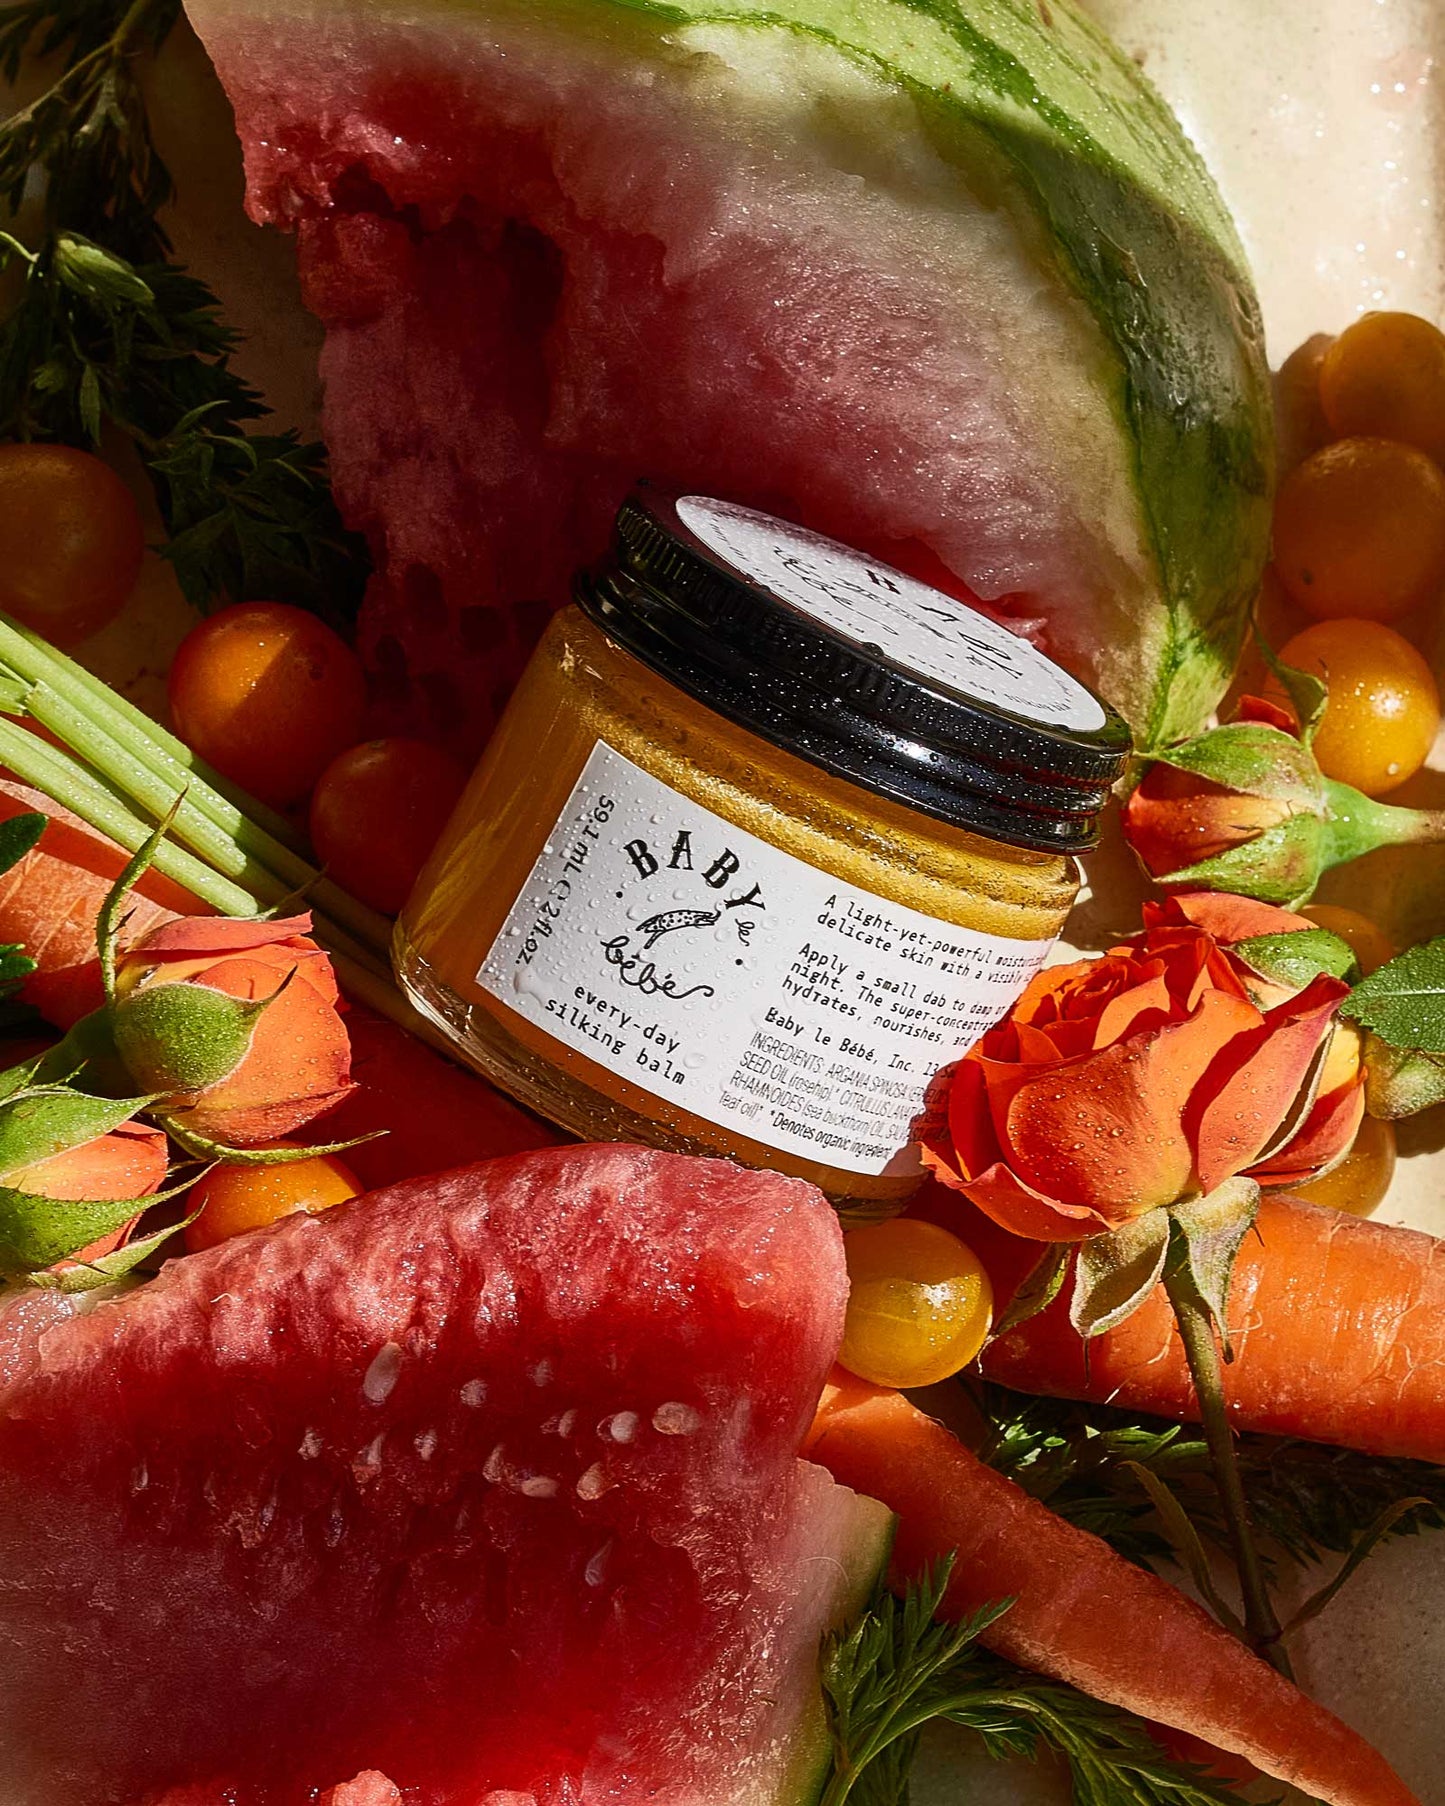
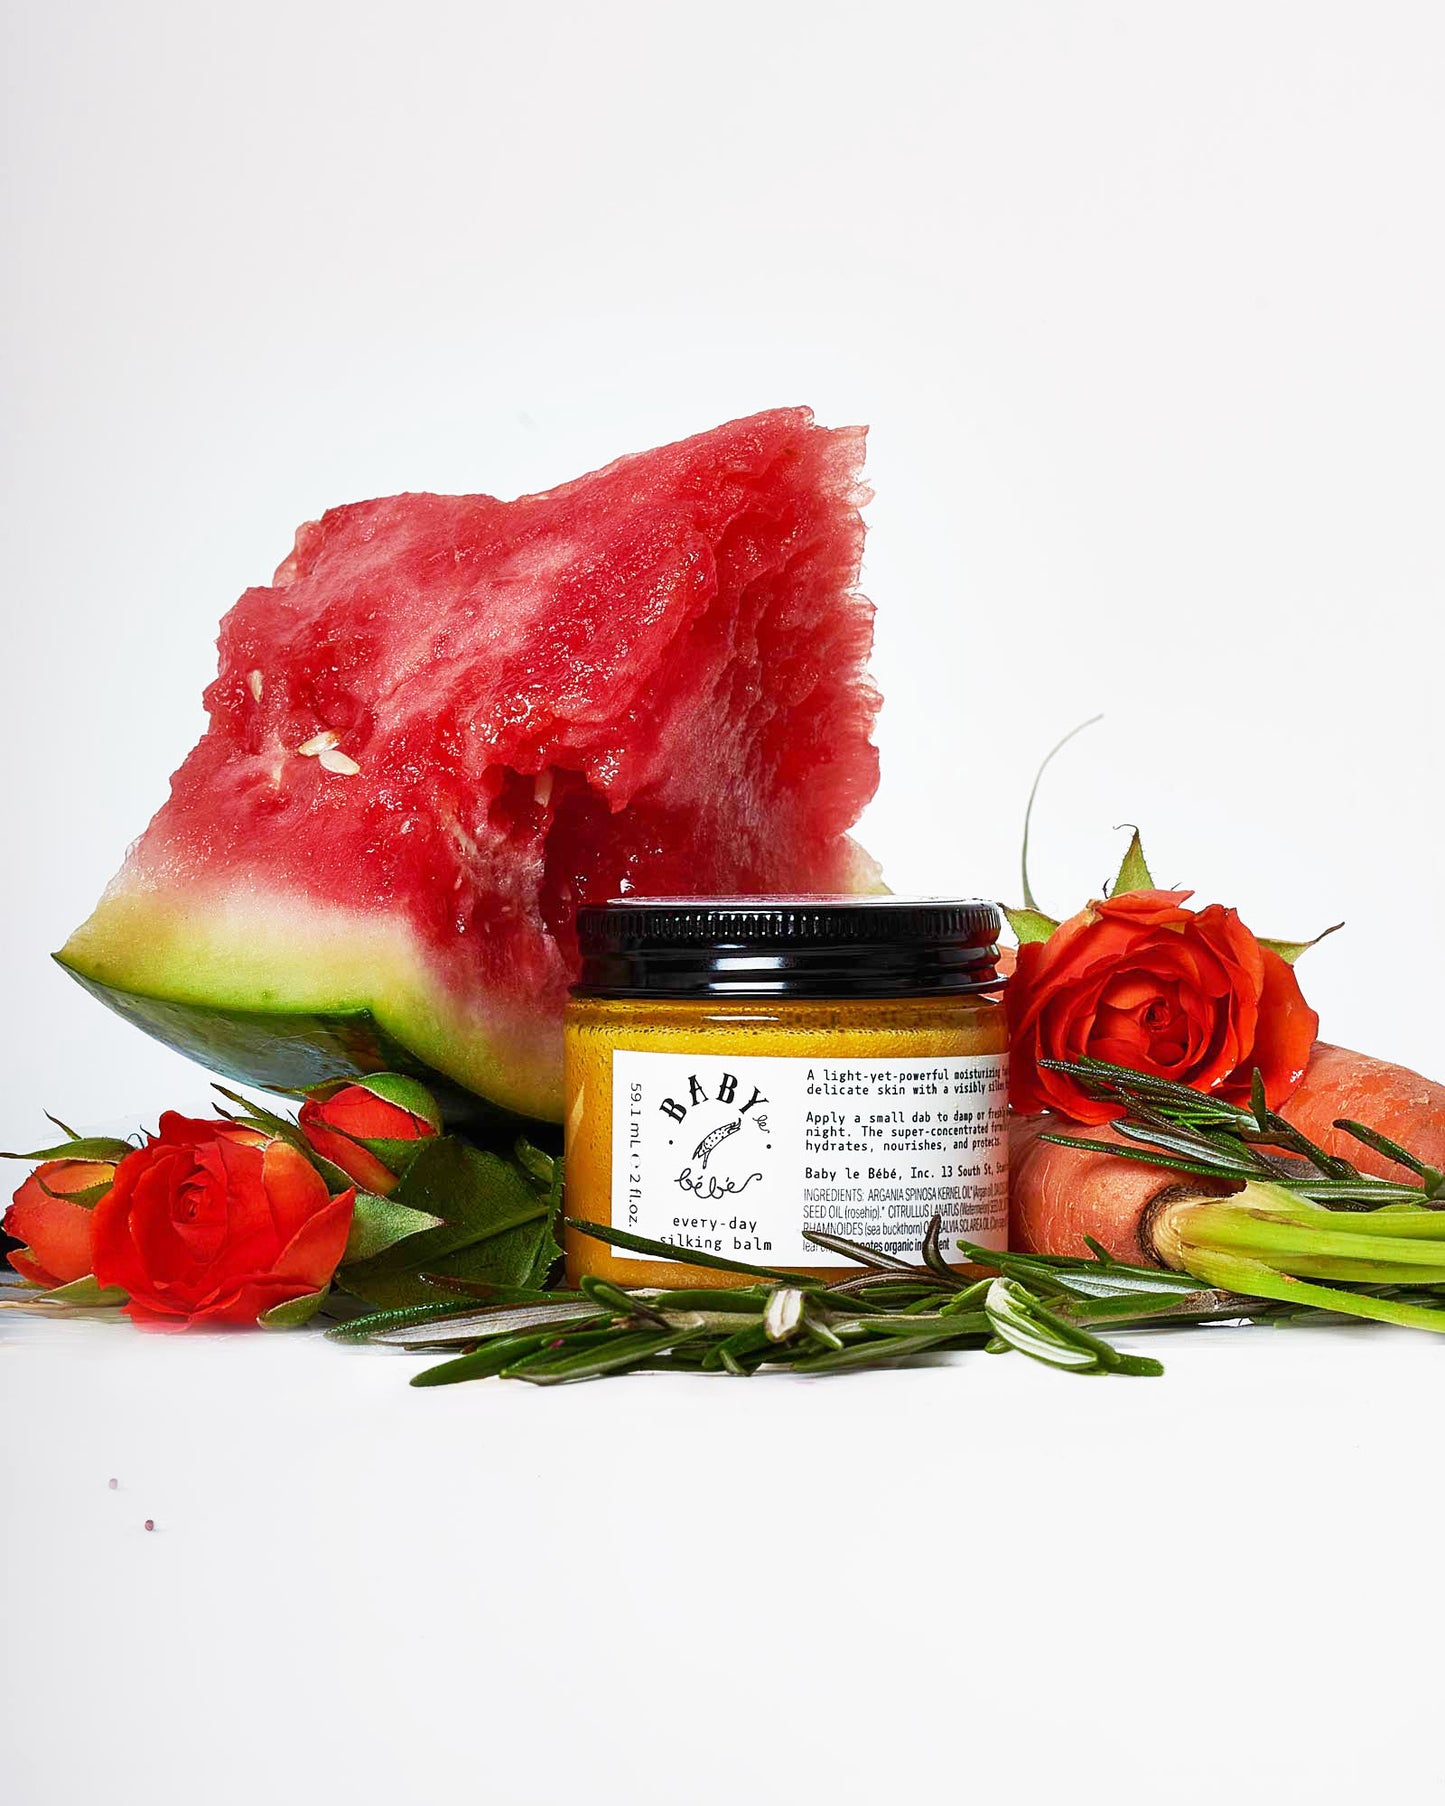
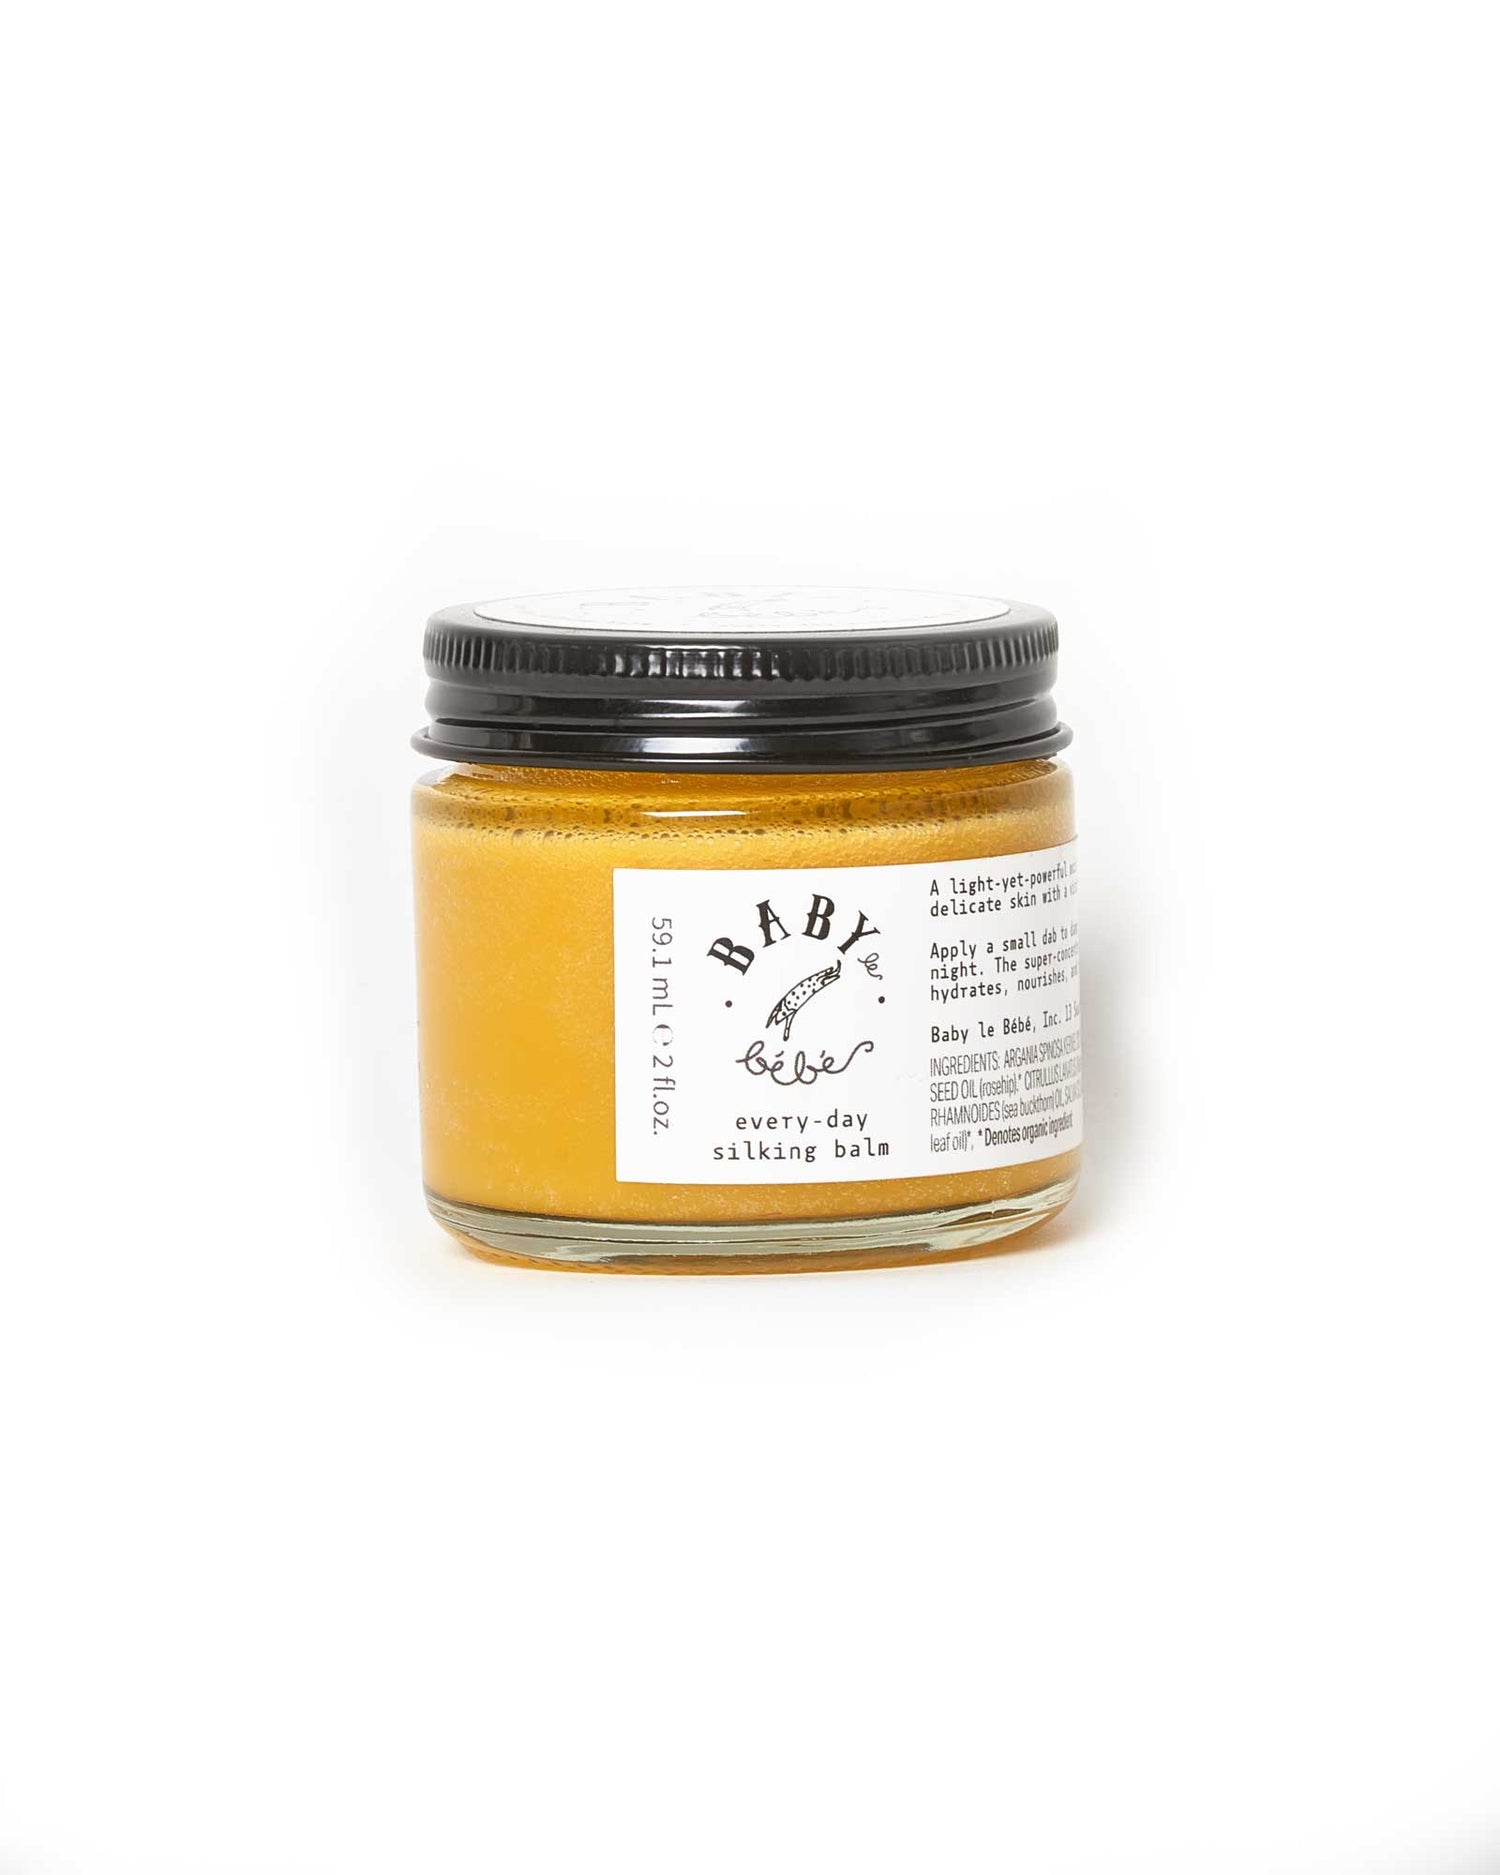
At Baby le Bébé, we believe in nurturing skin with gentle, botanical-based rituals. Our curated collection of oil cleansers, balms, and face oils is designed to support your skin's health before and after any treatment, ensuring it remains calm, hydrated, and resilient. Discover our gentle formulas at https://www.babylebebe.com.